
Springs


Torsion Springs - FAQs & Troubleshooting

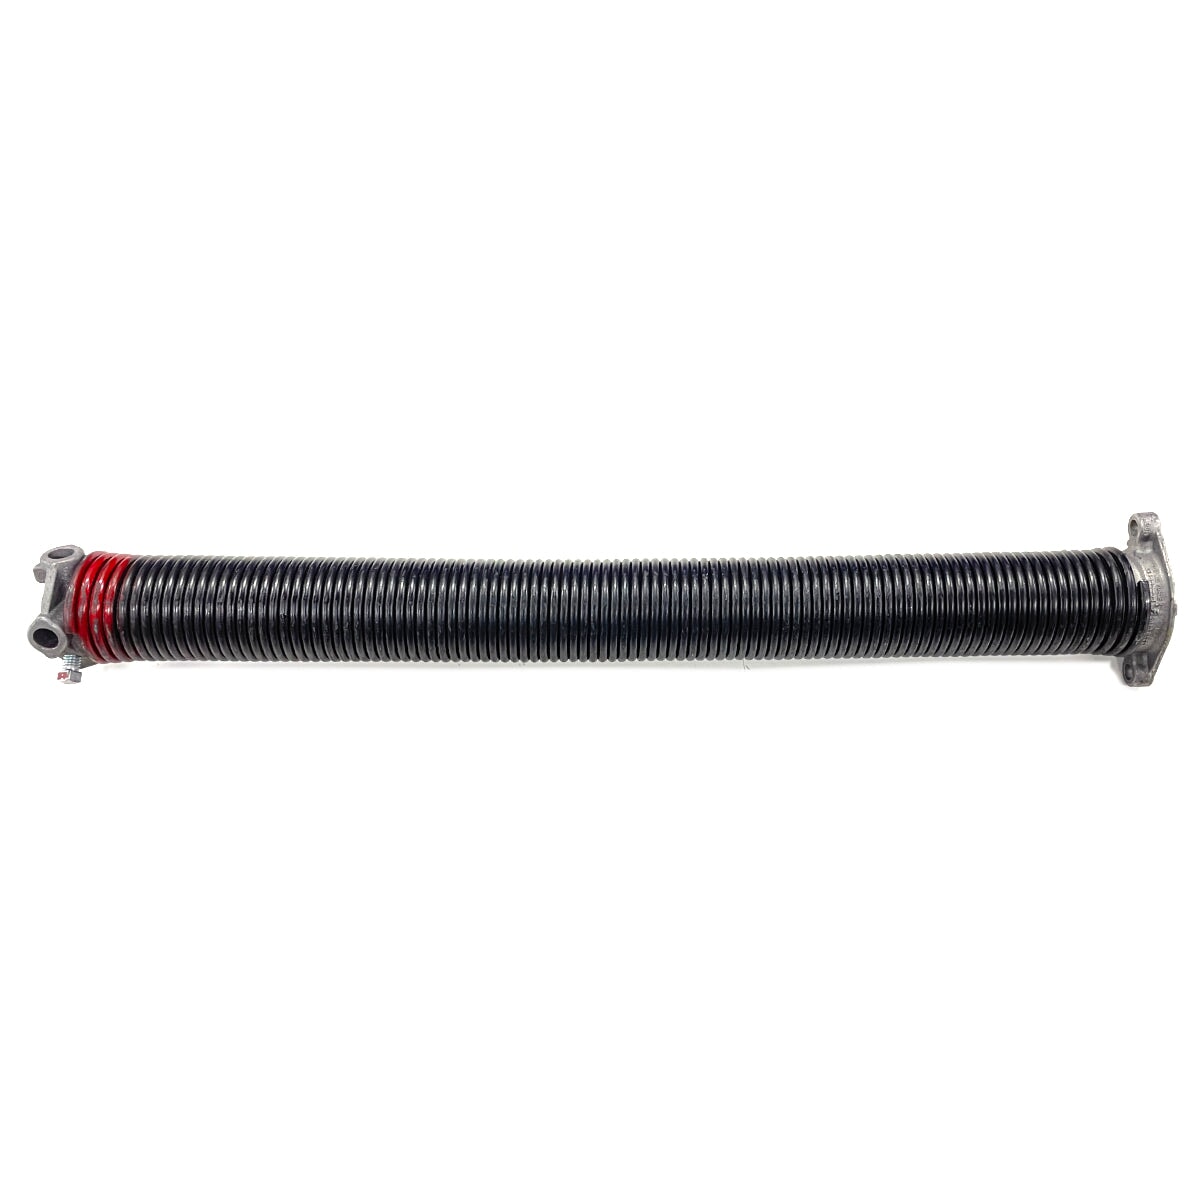
Torsion springs counterbalance the weight of your garage door and are mounted above the door opening on a steel shaft. Correct replacement springs must match the original spring specifications to maintain proper door balance and safe operation.
How to Identify the Correct Torsion Spring
Replacement torsion springs should be matched using the specifications from the existing spring, not the garage door opener.
Four key measurements are required:
- Inside diameter
- Wire size
- Overall spring length
- Wind direction
Measuring Garage Door Torsion Springs
Always remove spring tension completely before measuring. Measurements should be taken from the relaxed spring, including any broken pieces.
- Inside Diameter: usually stamped on the winding cone
- Wire Size: measured by counting and measuring coils
- Overall Length: total relaxed spring length
- Wind Direction: left wind or right wind spring


Garage Door Torsion Spring Replacement Guide
Garage Door Torsion Spring Tips & FAQs
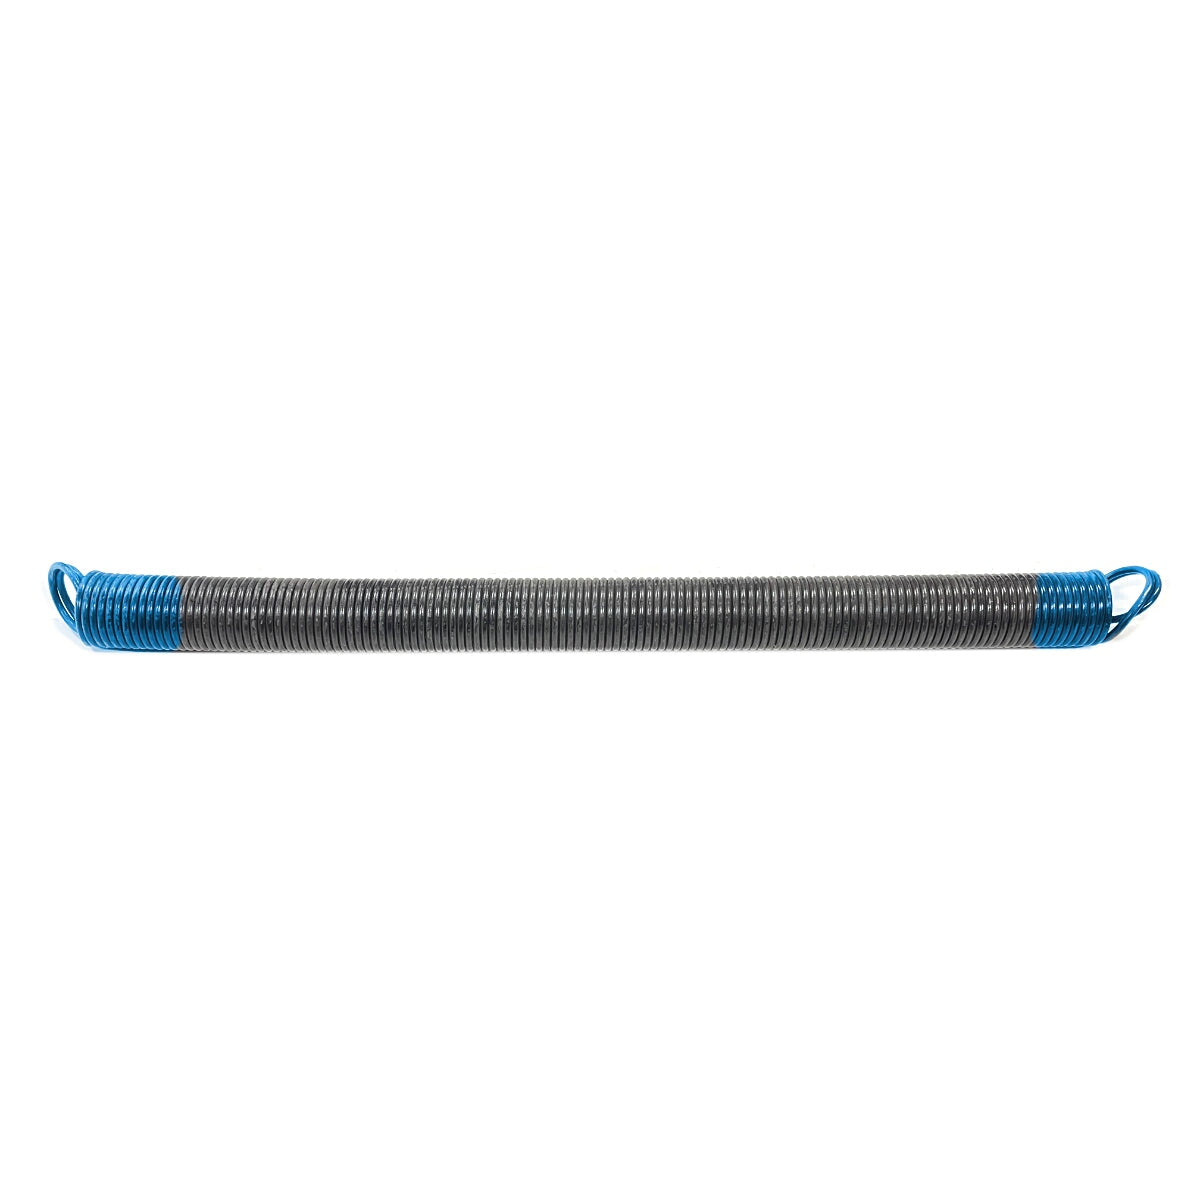
Left Wind vs Right Wind Torsion Springs
Wind direction is important for proper installation. Left wind and right wind springs mount on opposite sides of the center support bracket.
Single spring systems may sometimes allow reversing spring position if the wind direction is incorrect, but dual spring systems require the correct wind on each side.
How Long Do Garage Door Torsion Springs Last?
Most standard torsion springs are rated for approximately 10,000 cycles. One cycle equals one complete open and close of the garage door.
Average residential usage often results in a spring lifespan of 7-10 years depending on door weight and usage frequency.
Why Replace Both Torsion Springs?
Dual spring systems should typically have both springs replaced at the same time. Springs wear at similar rates, and if one spring breaks the second spring is often near the end of its cycle life as well.
Replacing both springs helps maintain proper balance and reduces the likelihood of another failure shortly after repair.
High Cycle Torsion Springs
High cycle torsion springs are available for doors with heavy daily use. High cycle conversions typically require changes to wire size and spring length while maintaining the correct lift characteristics for the garage door.
Garage Door Torsion Spring Safety
Torsion springs are under significant tension and can cause serious injury if handled improperly. Always use proper winding bars and secure the garage door before servicing springs.
- Release all spring tension before removal
- Clamp the door securely in place
- Use proper winding bars only
- Wear eye and hand protection
Garage Door Torsion Spring Winding Bars
Shop Garage Door Torsion Springs & Tools


How to Upgrade Your TorqueMaster Original Springs (They're Discontinued - Upgrade to New Plus Version)
TorqueMaster Original (TM/TM1) springs have been discontinued. Discover why upgrading to the newer TorqueMaster Plus version is your best move - plus how to measure your door and exactly and what info to send us for the perfect replacement springs.
Read more
about How to Upgrade Your TorqueMaster Original Springs (They're Discontinued - Upgrade to New Plus Version)

How to Install a Garage Door Quieting Kit: Complete Guide
We've found that replacing the majority of the hinges and installing the rest of the kit does a pretty good job of silencing the door without needing to deal with that bottom roller. If you really feel it needs to be changed, we have a separate process for that, but it's not necessary for most installations.

How to Order the Correct Torquemaster Spring | Height & Weight Method
Stop guessing your TorqueMaster spring. If the sticker is gone or unreadable, measuring your door height and weight is the only reliable way to get the right replacement the first time.
Read more
about How to Order the Correct Torquemaster Spring | Height & Weight Method