
Springs


How to Replace a Garage Door Torsion Springs - Step by Step Guide

Garage door torsion springs are an essential part of the garage door system, as they provide the necessary tension to lift the heavy door. However, over time, these springs can wear out or break, leading to a malfunctioning garage door. In such cases, it becomes necessary to replace the torsion springs to ensure the smooth functioning of the garage door. In this article, we will discuss how to measure and replace garage door torsion springs.
Measuring Garage Door Torsion Springs
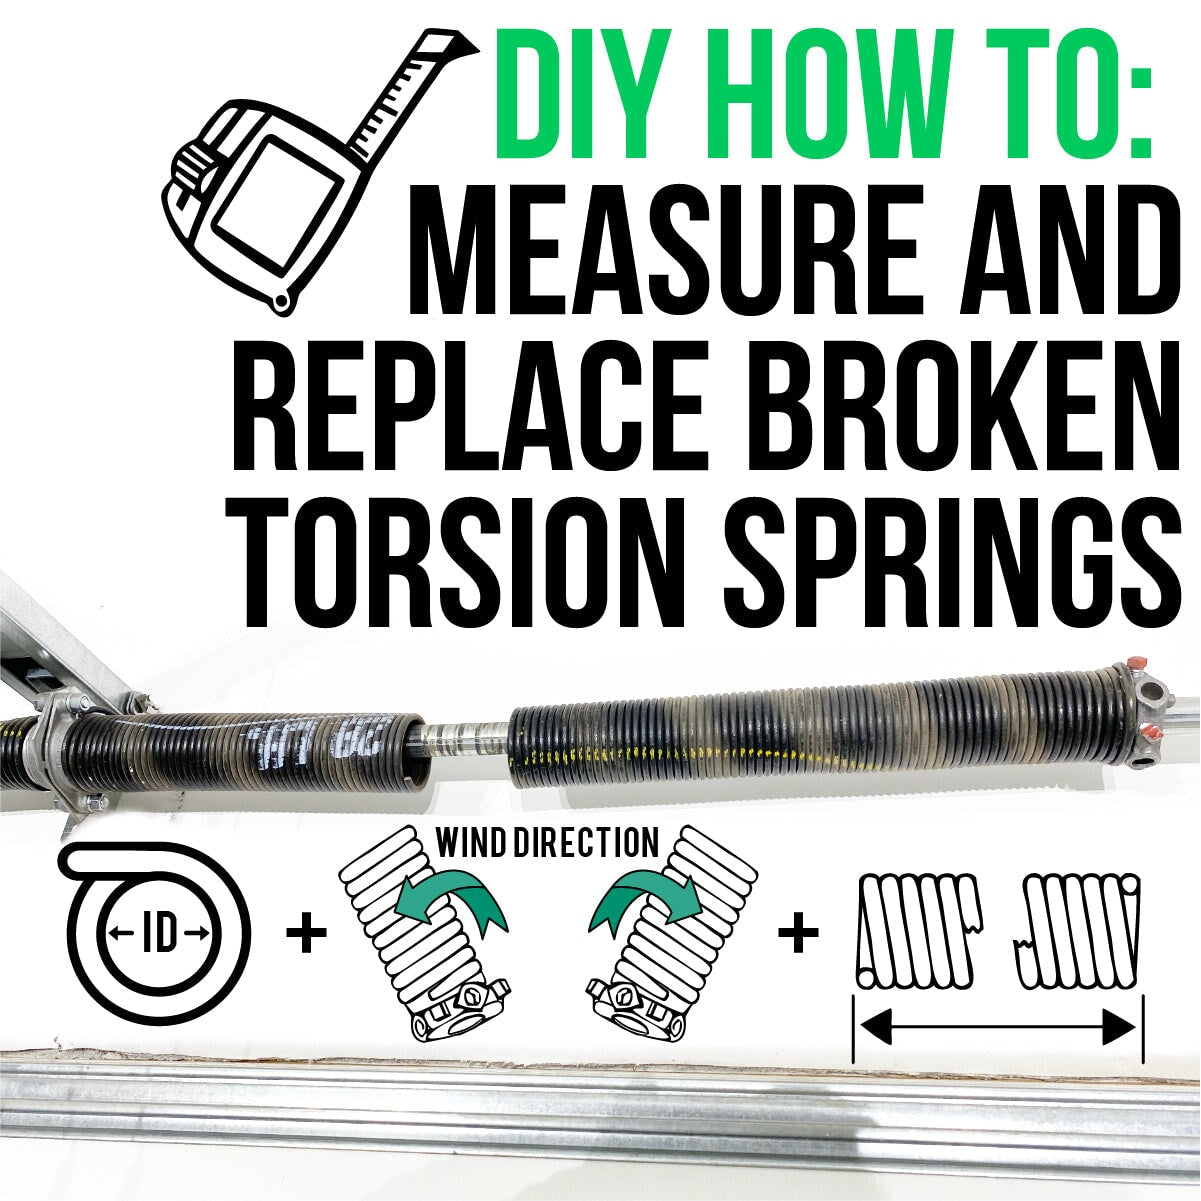
Before replacing the garage door torsion springs, it is essential to measure them accurately. This is necessary to ensure that you purchase the right size of the torsion springs that are compatible with your garage door.
If either spring is still under tension, you need to release the tension on it to prevent any accidents and to get accurate measurements. To do this reference our installation video below. We demonstrate how to release the tension on a wound spring.
Step 1: Inner Diameter. Measure the inner diameter of the garage door torsion spring or look for markings on the spring to indicate ID.

Step 2: Spring Wind. Look at the torsion spring winding cone. Right hand wound springs coil clockwise from the winding cone. Left wound springs coil counter clockwise from the winding cone. Another method - If spring is “Left” wound it should be located on the right side of the anchor bracket (installed above your door). If spring is “Right” wound it should be located on the left side of the anchor bracket.

Step 3: Wire Size. To determine the wire size of your broken torsion spring, count out 20 coils of wire and measure that length. Reference our wire size chart below to translate that measurement into the wire size.

Step 4: Spring Length. Measure the overall length of the unwound spring inside the torsion spring cones including the broken pieces. Add those lengths together and round up to the nearest whole number. This is the length you need to order.

Purchase the right size of torsion springs using the measurements you have taken.
Replacing Garage Door Torsion Springs
Once you have measured the garage door torsion springs, you can proceed to replace them. Here are the steps to follow:

Step 1: Release any tension on the old springs before trying to remove. To do this, use a winding bar to turn the spring in the opposite direction of the winding direction, and slowly lower to rest on the top bar of your garage door. Repeat this until spring has no tension left. This will release the tension on the spring.
Step 2: Remove the old springs from the anchor bracket. Once you have released the tension on the old springs, you can proceed to remove them. Use two 9/16" wrenches to loosen the bolts that attach the springs to the anchor bracket. Once the bolts are loose and the set bolts on the winding cones are loosened, slide the springs to each side of the shaft.
Step 3: Remove torsion spring drums and unhook torsion cables. Loose the set bolts on the torsion spring cable drums and unhook cables from slots. Remove drum from torsion bar by pulling bar towards opposite side and out of the outer wall brackets until drum can slide off tube. Put tube back into wall bracket and repeat on opposite side.
Step 4: Remove old spring. Starting on the right side, slide the old spring to the end of the torsion bar. Push torsion bar toward opposite side till it is out of the right side wall bracket bearing and there is room to slide the spring off the bar. Once spring is off the torsion bar, place the bar back into the wall bearing bracket and push through the hole until the opposite side is out of the wall bracket on that side. Repeat steps on left side.
Step 5: Install the new springs. Starting on the left side, slide the new springs onto the shaft in the same way as the old springs came off. Put the drum back on the tube with the set bolt facing towards the inside of the door. Make sure the springs are placed on the correct sides (right wound should be on left side of anchor bracket, left wound on right side of anchor bracket)
Step 6: Reset drums and cables. Staring on the left side, align the torsion bar back where it was before you started in the bearing on the wall bracket. There should be a black mark from the bearing oil to line up with. Place the drum back where it was before and line up the set screws with the previously made indentions. Secure set screws. Place cable back in the drum slot and wind the cable onto the drum in the grooves until cable is taught. Once drum is attached to torsion tube and cable is reset, lock the bar in place with a vice grip. Repeat steps on right side (vice grip not needed on this side). Test cable tightness on both sides to make sure they are even.
Step 7: Attach new springs to anchor bracket. Put the bearing (if you have one) back inside the hole on the anchor bracket and line up the spring anchor plugs on both sides and put the mounting bolts through the holes on both springs with the anchor bracket between. Tighten nuts and bolts securely with two 9/16" wrenches.
Step 8: Wind the new springs. Once the new springs are in place, wind them up by turning the shaft in the winding direction. To wind, insert winding bar into winding plug and rotate plug 1/4 turn upward. While holding securely the first bar, insert second winding bar into plug, take up torque load and remove first winding bar. Repeat until springs are wound the correct number of 1/4 turns for your door height. Every 3" of door height = 1/4 turn. Example, 7' door = 28 1/4 turns, 7'6" =30 1/4 turns, 8' - 32 1/4 turns.
Secure the set screws. Once the new springs are wound up, use a wrench to tighten the set screws that hold the springs in place. Make sure the set screws are tightened securely.
Step 9: Release vice grip on torsion bar once both springs are wound up and secured.
Step 10: Test the garage door To ensure that the new springs are working correctly, test the garage door by opening and closing it a few times. If the door opens and closes smoothly, then the new springs are installed correctly.
Tools and parts required for replacing torsion springs:

- Vice Grips
- 2 - 3/8" Wrenches
- 2 - 9'16" Wrenches
- Pair of Torsion spring winding bars
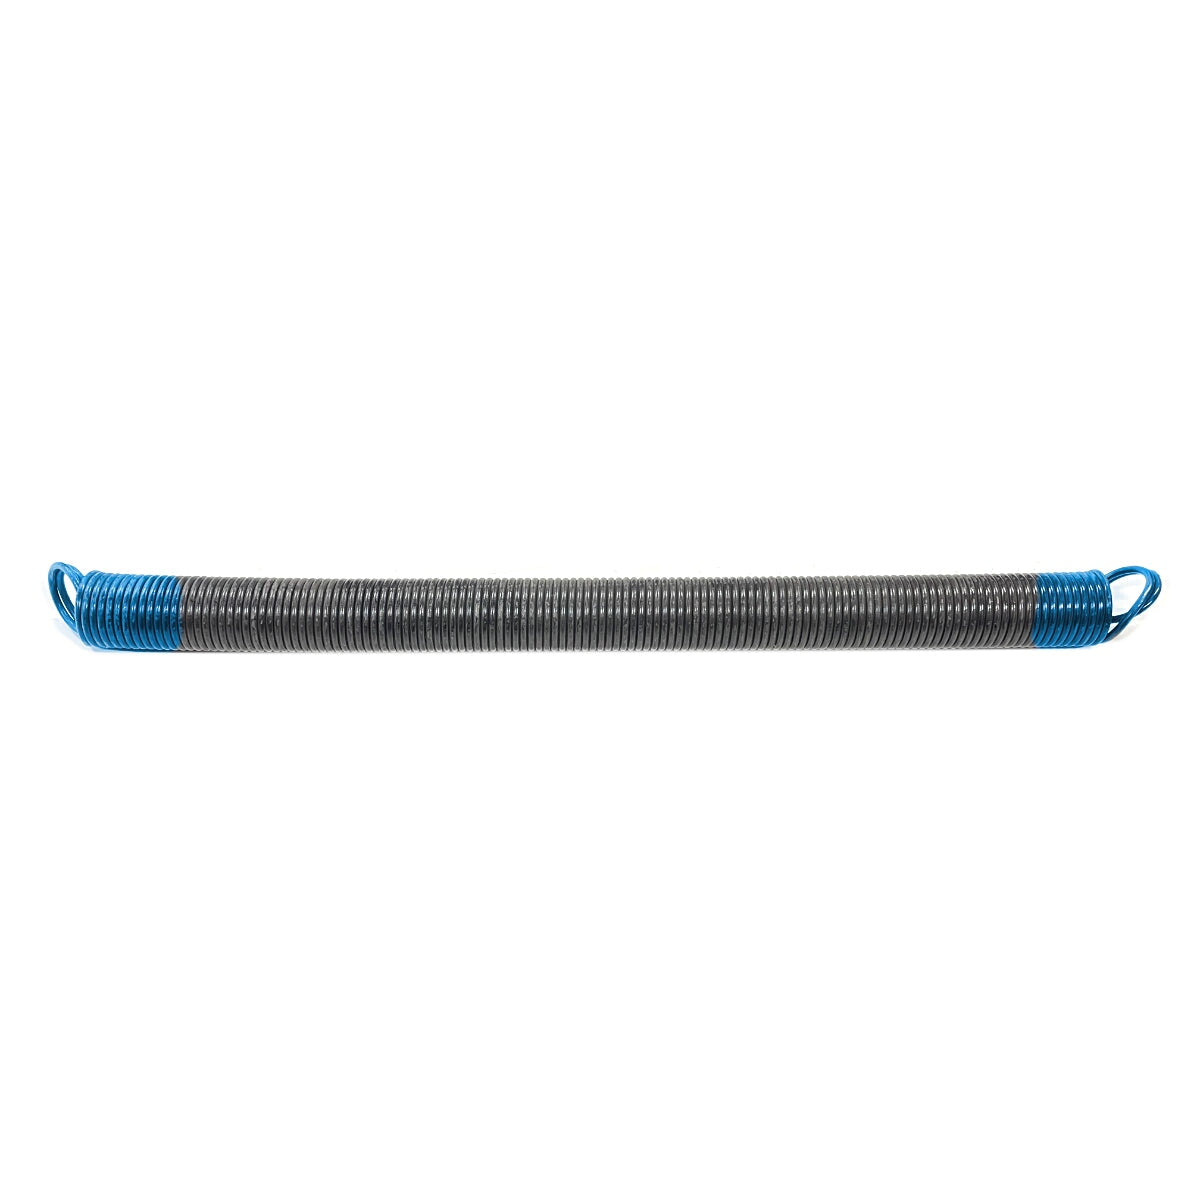
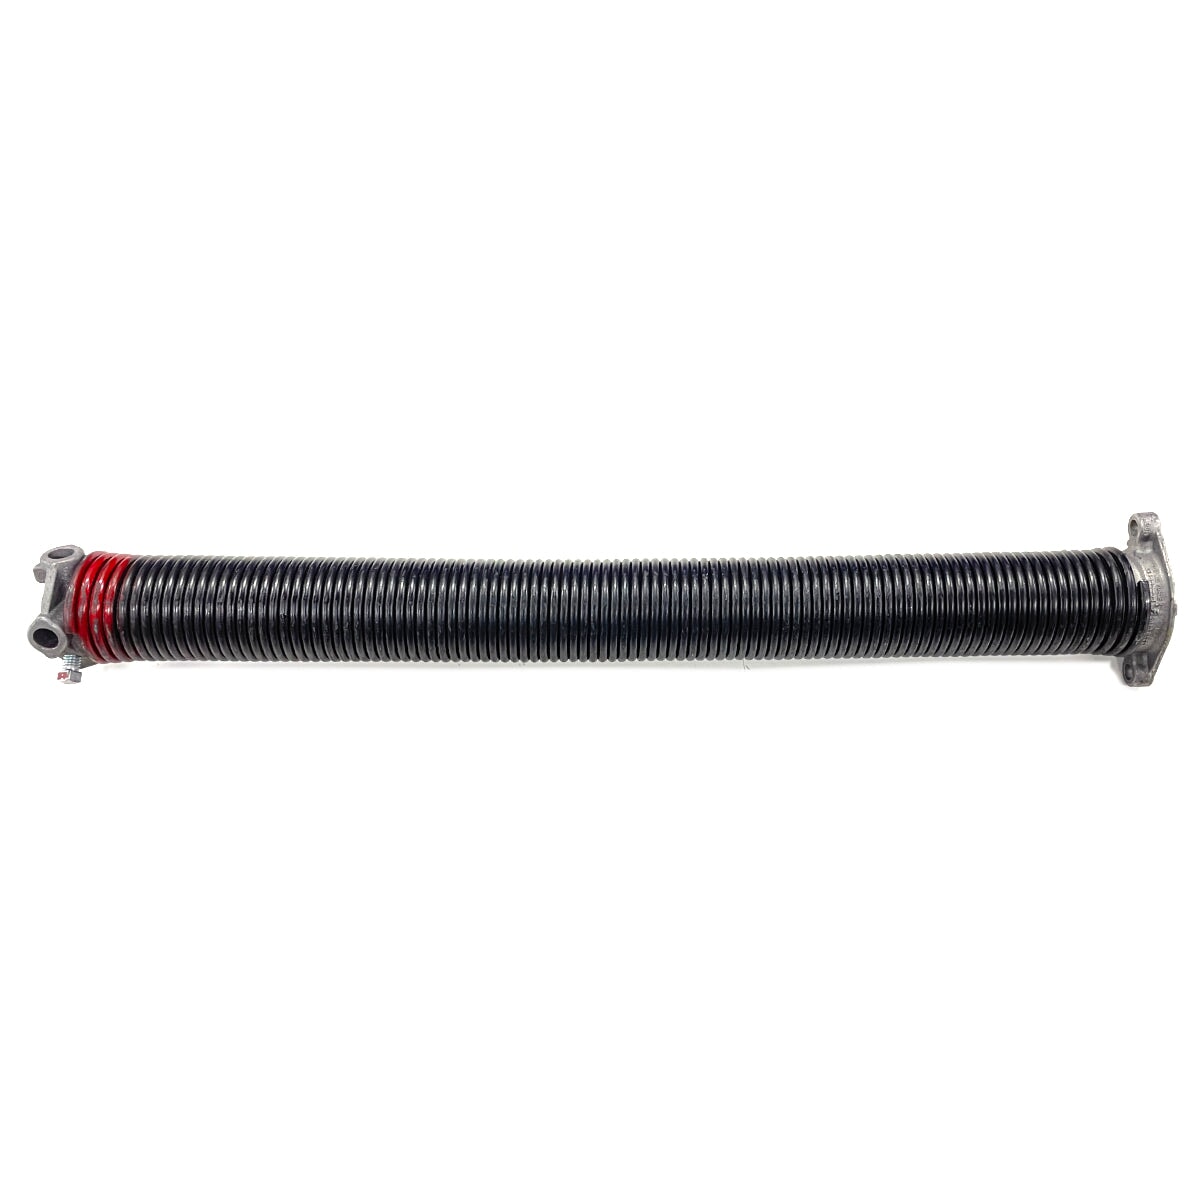
- Replacement Torsion Springs
- Pencil or Pen
- Tape Measure
- Step Ladder
Also in Garage Door Parts - DIY Handbook


How to Upgrade Your TorqueMaster Original Springs (They're Discontinued - Upgrade to New Plus Version)
TorqueMaster Original (TM/TM1) springs have been discontinued. Discover why upgrading to the newer TorqueMaster Plus version is your best move - plus how to measure your door and exactly and what info to send us for the perfect replacement springs.
Read more
about How to Replace a Garage Door Torsion Springs - Step by Step Guide

How to Install a Garage Door Quieting Kit: Complete Guide
We've found that replacing the majority of the hinges and installing the rest of the kit does a pretty good job of silencing the door without needing to deal with that bottom roller. If you really feel it needs to be changed, we have a separate process for that, but it's not necessary for most installations.

How to Order the Correct Torquemaster Spring | Height & Weight Method
Stop guessing your TorqueMaster spring. If the sticker is gone or unreadable, measuring your door height and weight is the only reliable way to get the right replacement the first time.
Read more
about How to Replace a Garage Door Torsion Springs - Step by Step Guide