
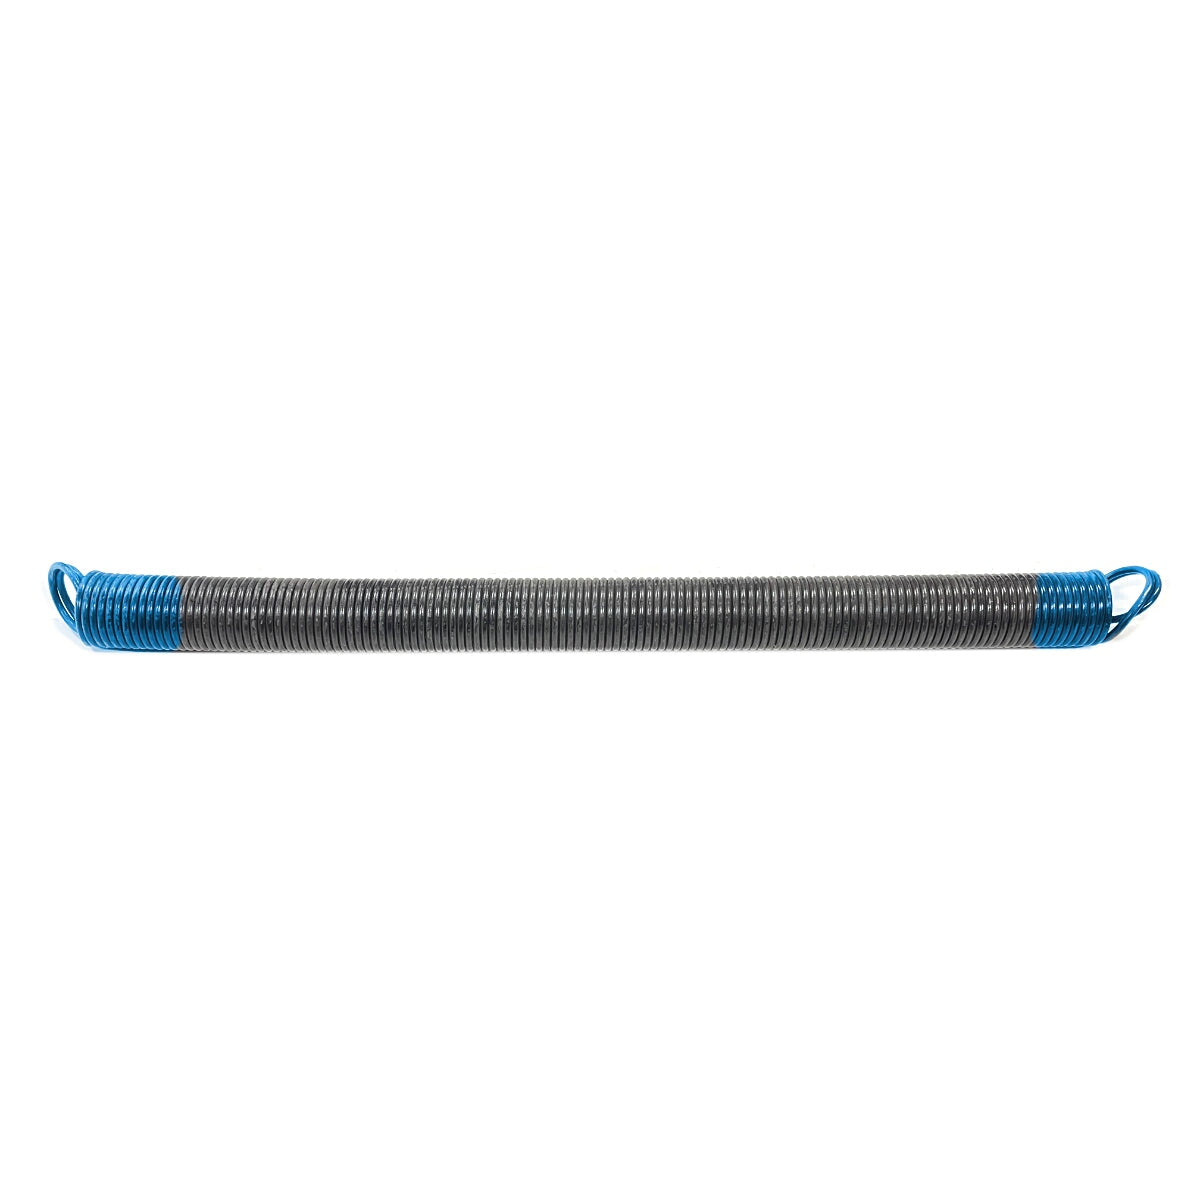
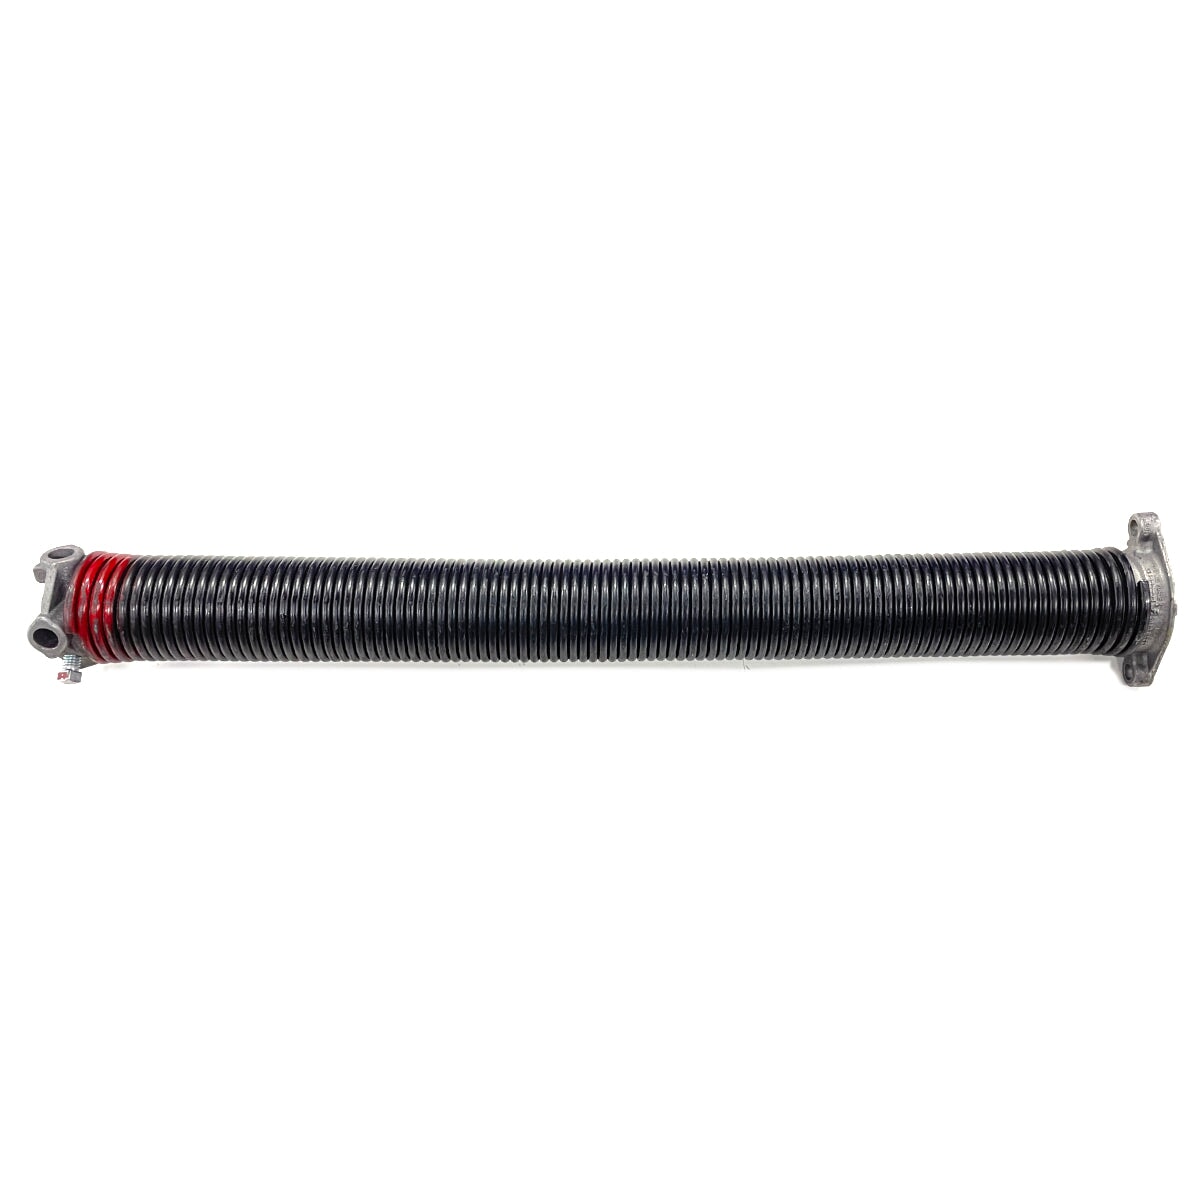
Springs


How to Install a Garage Door Quieting Kit: Complete Guide

Got a noisy garage door that rattles and clangs every time you open it? A garage door quieting kit can make a dramatic difference – we're talking a reduction from 75 decibels down to around 60. That's quieter than normal conversation.
Let me walk you through exactly how to install a garage door quieting kit, what's included, and what results you can expect.
What's Included in the Quieting Kit
Depending on which kit you select, here's what you'll get:
- Nylon rollers – If you currently have steel rollers, upgrading to nylon makes a huge difference
- Quieting sleeves – These go over your roller stems to reduce metal-on-metal contact
- Sleeve retainers – Keep the quieting sleeves in place
- Garage door oil – Our own formula that quiets without making a huge mess
Tools You'll Need
Before you start, gather these tools:
- 7/16" socket driver (impact driver or drill recommended, though a ratchet works too)
- Socket for installing sleeve keepers
- Hammer
The whole installation shouldn't take more than an hour or two, depending on your door size.
Important Safety Note: Don't Touch the Bottom Roller
Here's something critical – do not mess with that bottom roller on your door. All the tension from your garage door springs is attached to the cable that connects to that bottom bracket.
The good news? We've found that replacing the majority of the hinges and installing the rest of the kit does a pretty good job of silencing the door without needing to deal with that bottom roller. If you really feel it needs to be changed, we have a separate process for that, but it's not necessary for most installations.
Step One: Remove Hinges and Install Quieting Sleeves
Start by removing a hinge from your door. You'll need to take each hinge off individually to install the sleeves properly – most hinges don't have enough room to slide the sleeves on while still attached.
Once the hinge is off:
Slide the quieting sleeve onto the roller stem. Then slide the roller back into the hinge, pushing it all the way through. Next, you'll tap the sleeve retainer onto the end.
Position the retainer on the stem and use your socket and hammer to tap it into place. You don't need to use a ton of force, but give it enough to get some purchase. The retainer doesn't need to go all the way to the edge – leave a little room for the sleeve to slide as the door moves. This prevents the plastic sleeve from slipping back off the hinge.
Once the kit is installed on the hinge, slide it back into position and reinstall the hinge on the door. Repeat this process for each hinge on your door (except the bottom one).
Step Two: Lubricate Everything Properly
Now that all your quiet sleeves, sleeve retainers, and new rollers are installed, it's time to lubricate. We're using actual oil instead of spray lubricant for a good reason – it makes way less mess and it's a heavier weight oil that keeps things quiet longer.
Here's how to do it:
Put a small drop of oil where the two pieces of metal touch each other on the hinge – that's the moving part. Just one drop on each side where it can work its way down inside the hinge. Repeat this for every hinge, including the center hinges.
This method is much cleaner than spray lubricant. When you spray, even with the little straw attachment, it goes everywhere. All that excess lubricant attracts dust and dirt, which is why you see all that gunk stuck to older doors.
Lubricating Your Spring
Once you're done with the hinges, run a bead of oil down the entire length of your spring. You can go over it once or twice – just try not to make a huge mess. If you see drips starting to form, wipe them up.
When you start running the door up and down, the oil will work its way into the whole spring and should give it a little more life.
Don't Forget the Rollers
Your new nylon rollers don't need oil right out of the box, but after 6 months to a year, put a small drop right where the bearings are – inside that little gap. Do this on every roller you have.
The Results: How Much Quieter?
So how well does this actually work? We tested it with a decibel meter:
- Door with quieting kit: 60.6 decibels (quieter than normal conversation)
- Door without kit: 75 decibels
That's a significant reduction, and we tested this on a door that wasn't even particularly loud to begin with. If you've got one of those old, clangy doors with steel rollers, the difference will be even more dramatic.
The Bottom Line
Installing a garage door quieting kit is a straightforward DIY project that makes a real difference. Between the nylon rollers, quieting sleeves, and proper lubrication with heavy oil, you'll cut your door noise substantially.
The whole process takes just a couple of hours, and you'll appreciate the results every single time you use your garage.
Got questions about installing your quieting kit? That's exactly the kind of stuff we love helping people figure out.
👉 Shop garage door quieting kits here: Browse Garage Door Quieting Kits
FAQs
Can I replace the bottom roller with the quieting kit?
No, don't touch the bottom roller. All the spring tension is attached to the cable connected to that bottom bracket. Replacing the other rollers and hinges is sufficient to quiet your door.
Do I need nylon rollers or can I keep my steel ones?
If you have steel rollers, we strongly recommend upgrading to nylon. Nylon rollers are significantly quieter and reduce metal-on-metal noise.
Why use oil instead of spray lubricant?
Oil is heavier weight, lasts longer, and makes much less mess. Spray lubricant goes everywhere and attracts dust and dirt that sticks to your door.
How much quieter will my door be?
In our testing, we saw a reduction from 75 decibels to 60.6 decibels. Results vary based on your door type, but most users see significant noise reduction.
How often should I relubricate the rollers?
New nylon rollers don't need oil immediately, but after 6 months to a year, add a small drop where the bearings are on each roller.
Also in Garage Door Parts - DIY Handbook


How to Upgrade Your TorqueMaster Original Springs (They're Discontinued - Upgrade to New Plus Version)
TorqueMaster Original (TM/TM1) springs have been discontinued. Discover why upgrading to the newer TorqueMaster Plus version is your best move - plus how to measure your door and exactly and what info to send us for the perfect replacement springs.
Read more
about How to Install a Garage Door Quieting Kit: Complete Guide


How to Order the Correct Torquemaster Spring | Height & Weight Method
Stop guessing your TorqueMaster spring. If the sticker is gone or unreadable, measuring your door height and weight is the only reliable way to get the right replacement the first time.
Read more
about How to Install a Garage Door Quieting Kit: Complete Guide


Torque Master Spring Installation Made Easy: 6 Simple Steps
Installing Torque Master springs might seem intimidating at first, but with the right tools and step-by-step guidance, it's a manageable DIY project.