
Springs


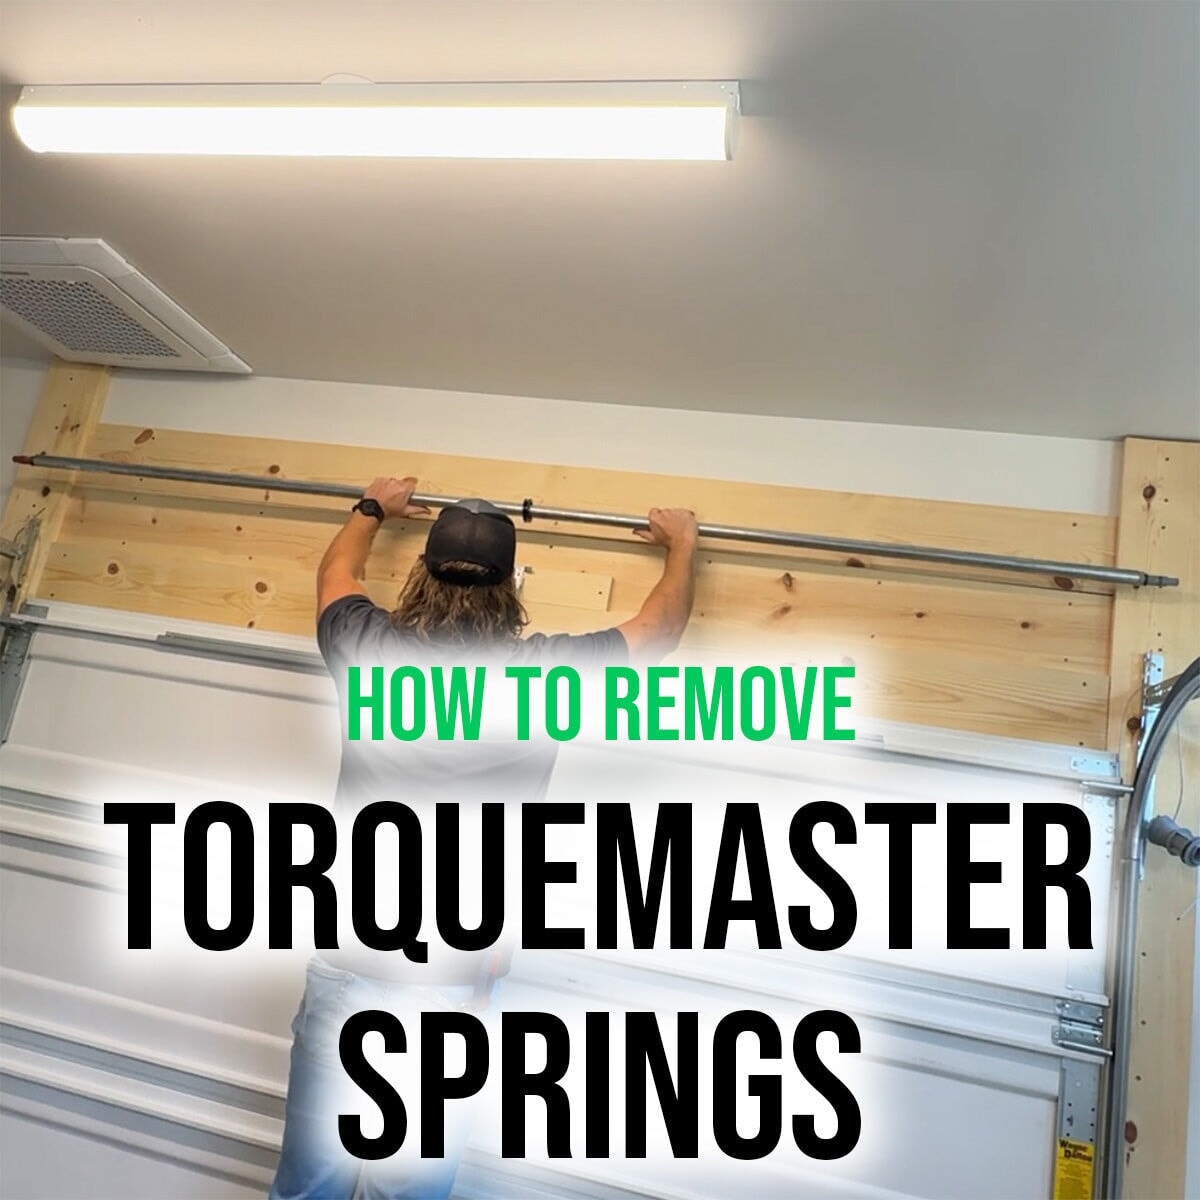
How to Remove TorqueMaster Plus Springs Step-by-Step Guide

If you're replacing your Wayne Dalton TorqueMaster Plus springs, proper removal is the first and most important step. Whether you’re working with a single spring or a double spring setup, follow this detailed guide to do it safely and correctly.
🎥 Watch the Video
Prefer to see it in action? Watch our full video on removing TorqueMaster Plus springs:
🧰 Tools You’ll Need
- Ratchet wrench with 5/8” socket
- 3” socket extension
- Flathead screwdriver
- Phillips head screwdriver
- Locking pliers (vice grips)
- Needle-nose pliers
- Broom handle or metal rod
- Step ladder
- Safety glasses and gloves (highly recommended)
🔧 Step 1: Check for Spring Tension
- Remove any drum wraps from the cable drums.
- Pull the right-side cable away from the door. If it’s loose and the spring tube spins freely, move to step 3.
- If it feels tight, continue to Step 2 to release the spring tension first.
⚠️ Step 2: Safely Release Spring Tension
- Turn the pawl knob on the right side to the upper position.
- Attach your ratchet (with 5/8" socket and 3" extension) to the right-side winding shaft.
- Rotate counterclockwise to remove tension. Push in the pawl to allow gear teeth to pass.
- Let the ratchet gently rotate upward 1/4 turn at a time, re-engaging the pawl between each turn.
- Repeat until no tension remains.
- For double spring setups, repeat on the left side, rotating clockwise.
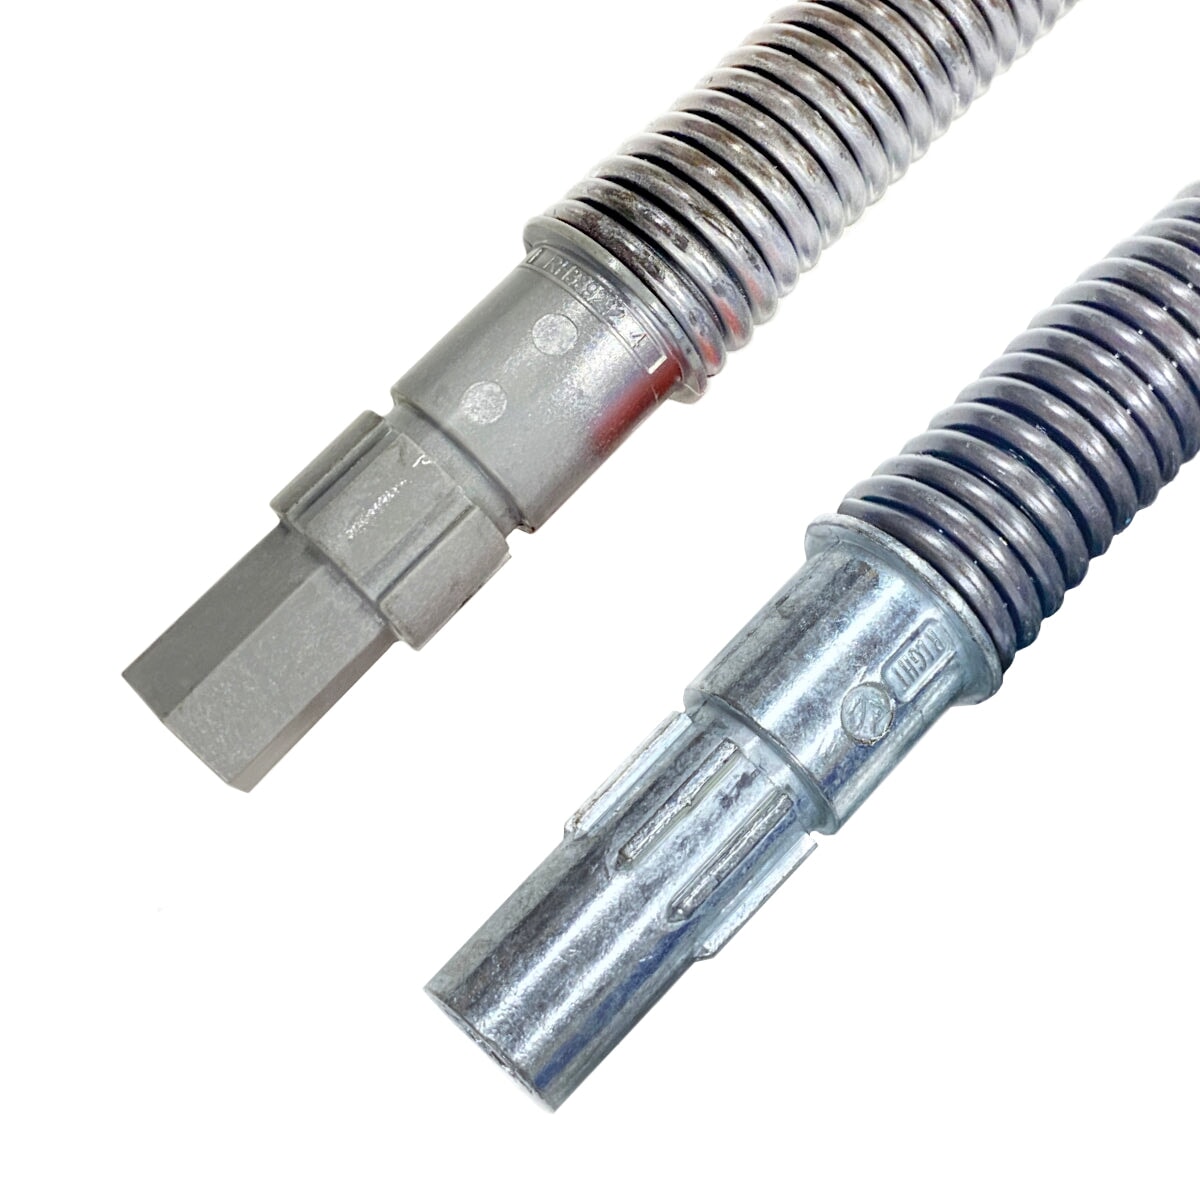
🔩 Step 3: Remove End Brackets and Spring Tube
- Remove the carriage bolt and lag screw from the right end bracket.
- Use locking pliers to hold the bracket and carefully pry it away with a flathead screwdriver.
- Repeat the same steps for the left side.
- If you have a single spring with an idler bracket, remove the bolts and washer on the left side as well. (Idler bracket cannot be removed from the left hand cable drum. Idler bracket may break if your try to remove it.)
- Bend the center bracket tab, lift the right side of the spring tube, and slide off the cable drum.
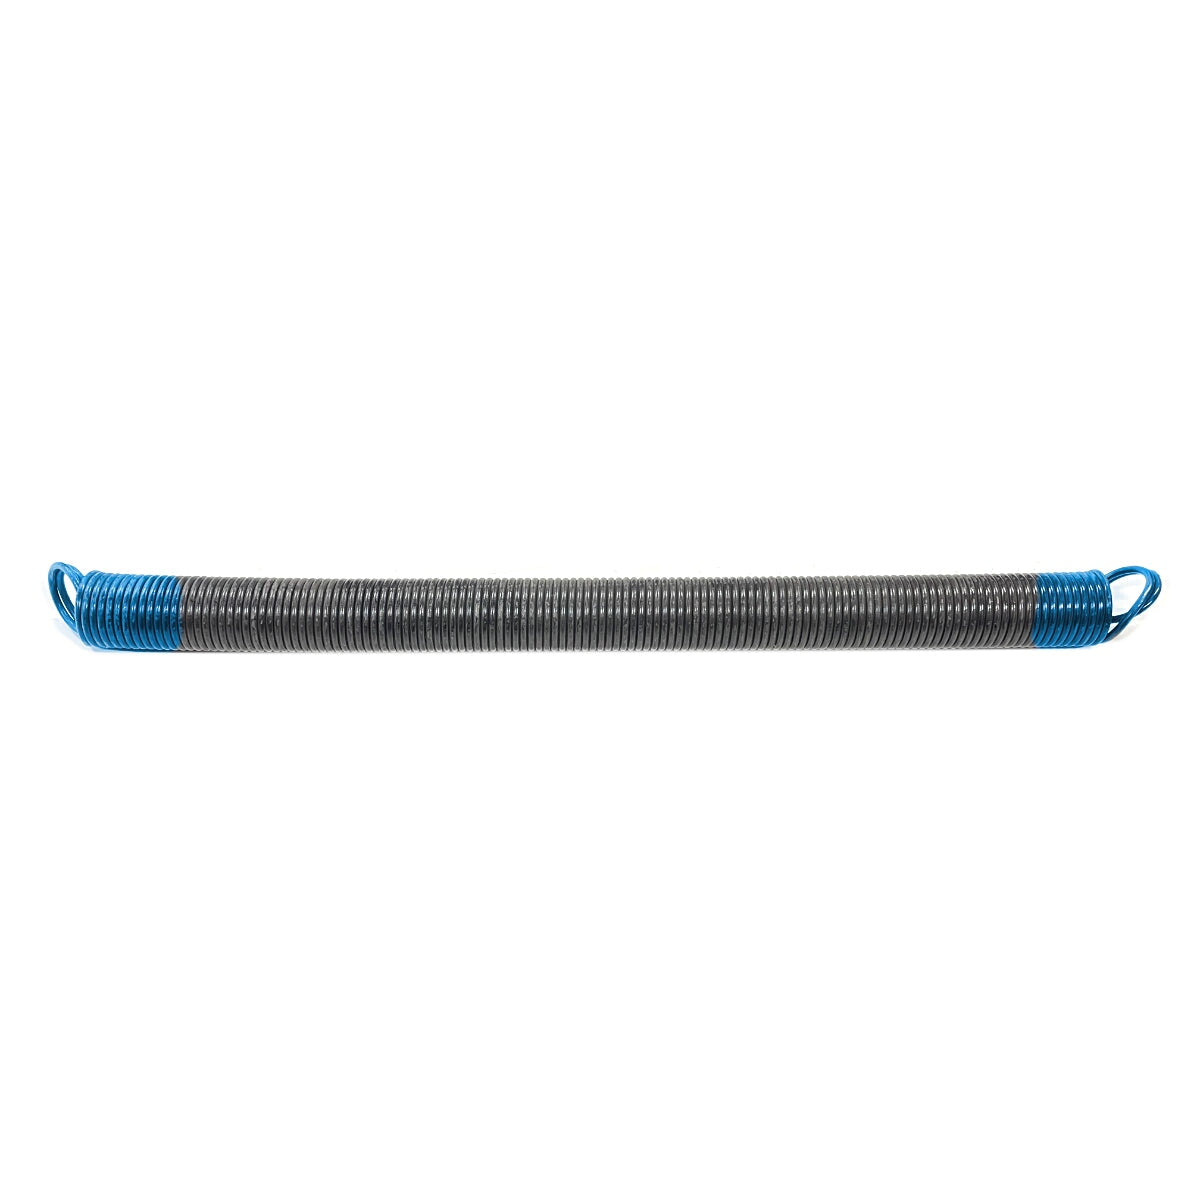
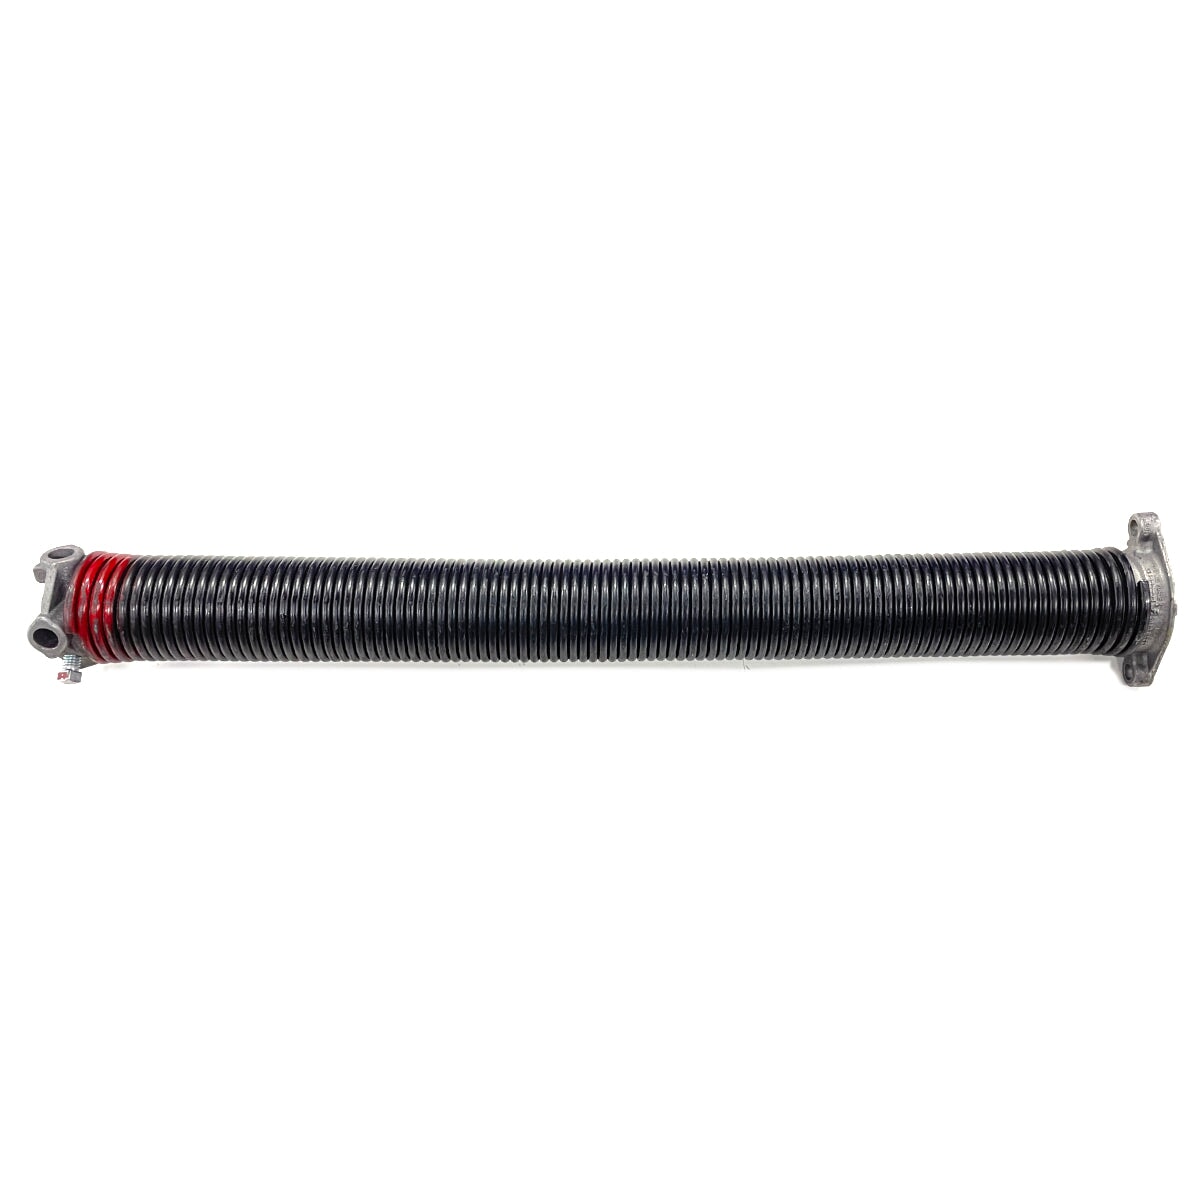
🧹 Step 4: Remove the Old Springs
- Lay the spring tube on the ground.
- Tilt either end to drop old springs out of the tube. If they don't come out easily, just push them out from the other end using a broomstick or rod.
- Springs are free-floating, and the tube is completely hollow - there are no fasteners inside the tube.
- If a spring is stuck, it’s usually because the plastic liner inside is glued in place with old grease.
- Use needle-nose pliers to grab and twist the liner free. If needed, slide a coat hanger or hacksaw blade between the liner and the tube wall to loosen it.
- Heating the end of the tube can also help release the liner.
- Once both springs and sleeves are out, shine a light into the tube to confirm it’s completely empty.
📦 Ready for Reinstallation?
Once your tube is clear, you're ready to install the new TorqueMaster Plus spring(s). Look for our next post on step by step installation or view the full manual here.
🔗 Shop TorqueMaster Parts
Click here to browse TorqueMaster springs, tools, and replacement parts
Also in Garage Door Parts - DIY Handbook

How to Install a Garage Door Quieting Kit: Complete Guide
We've found that replacing the majority of the hinges and installing the rest of the kit does a pretty good job of silencing the door without needing to deal with that bottom roller. If you really feel it needs to be changed, we have a separate process for that, but it's not necessary for most installations.

How to Order the Correct Torquemaster Spring | Height & Weight Method
Stop guessing your TorqueMaster spring. If the sticker is gone or unreadable, measuring your door height and weight is the only reliable way to get the right replacement the first time.
Read more
about How to Remove TorqueMaster Plus Springs Step-by-Step Guide


Torque Master Spring Installation Made Easy: 6 Simple Steps
Installing Torque Master springs might seem intimidating at first, but with the right tools and step-by-step guidance, it's a manageable DIY project.