
Springs


How to Fix a Garage Door That Only Closes with Wall Button
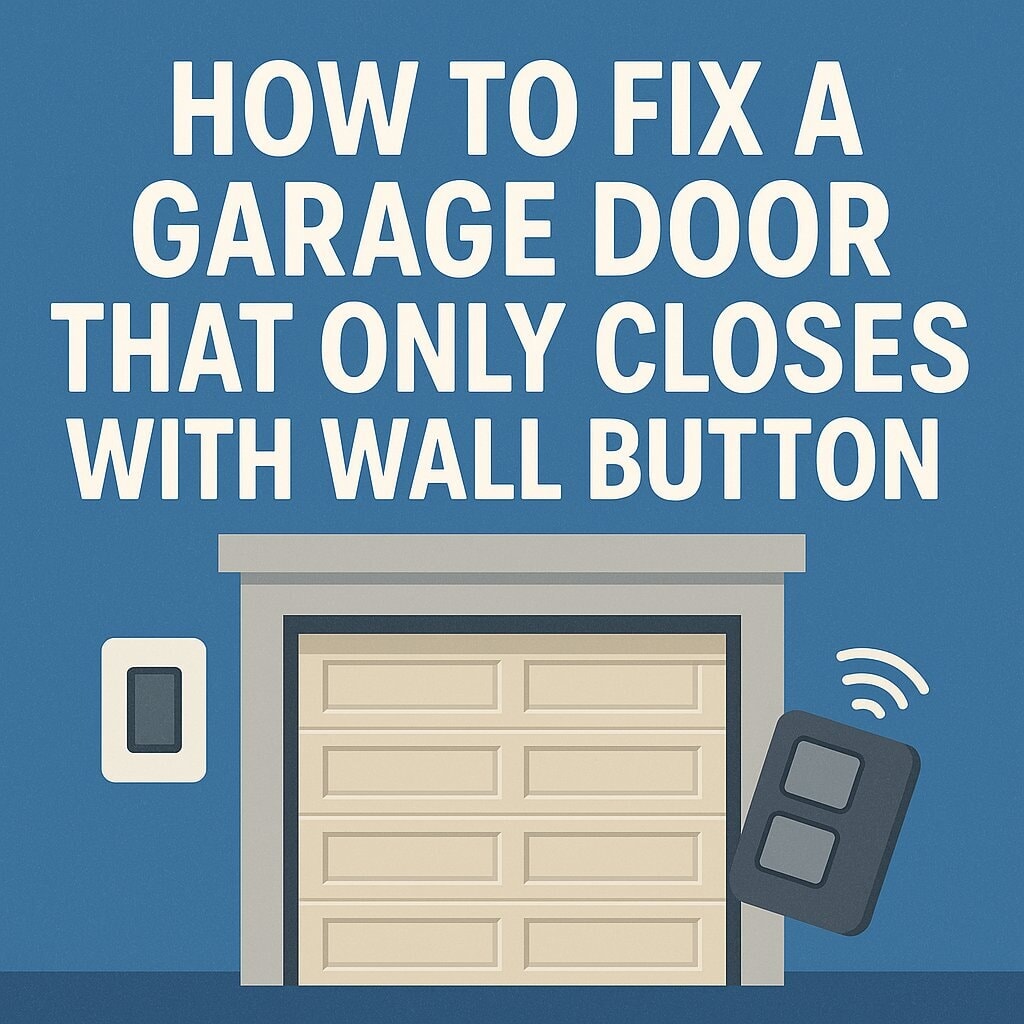

Garage Door Won’t Close from Remote? Must Hold Wall Button? Here’s the Fix
If your garage door only closes when you press and hold the wall button, but won’t respond to your remote control, it’s almost always an issue with your infrared photo eyes. These small sensors are part of your garage door opener’s safety system and when something’s off, they stop your door from closing normally.
What Are Photo Eyes?
Photo eyes are two small infrared sensors mounted on either side of your garage door near the floor. Their job? To send a beam across the door opening. If the beam is blocked or the sensors are misaligned the door won’t close unless you override it by holding the wall button.
How to Fix a Garage Door That Won’t Close from the Remote
Here’s a quick, step-by-step guide to getting your door working properly again:
Step 1 – Check Sensor Alignment
- Locate both photo eyes: One will have a solid light (receiver), the other may blink (transmitter).
- Make sure they’re pointing directly at each other gently adjust them until both lights turn solid.
- Clear away cobwebs, leaves, or debris that might be blocking the beam.
Step 2 – Clean and Inspect
- Wipe both sensor lenses with a soft cloth to remove dirt or residue.
- Look for cracked plastic, bent brackets, or damaged wires that might affect function.
Step 3 – Test the Door
- Use your garage door remote to close the door.
- If the photo eyes are working properly, the door should close without needing to hold the wall button.
Step 4 – Replace Faulty Photo Eyes
If cleaning and realignment don’t fix the problem, you may have bad sensors. Photo eyes can fail due to:
- Sun exposure or overheating
- Water damage or condensation
- Wire corrosion or connector issues
Luckily, replacement is simple and we’ve got the parts ready to ship. Be sure to choose sensors that are compatible with your opener brand and model.
Shop Garage Door Safety Sensors
Browse our selection of replacement photo eyes for LiftMaster, Chamberlain, Craftsman, Genie, and more. Fast shipping and guaranteed compatibility with top garage door openers.
Important Safety Tip
Never bypass or disable your photo eyes. These sensors are a vital safety feature that helps prevent serious injuries and property damage. Always fix or replace them properly.
FAQs
Q: Why does my garage door only close when I hold the wall button?
A: This means your safety sensors (photo eyes) are blocked, dirty, misaligned, or malfunctioning. Holding the wall button overrides the sensor system temporarily.
Q: How do I know if my photo eyes are working?
A: Check for solid indicator lights on both sensors. If one is off or blinking, they may be misaligned or obstructed.
Q: Can I install replacement photo eyes myself?
A: Yes! Most photo eyes are easy to install with basic tools. Just make sure you get a compatible set for your opener model.
Q: What happens if I disable the sensors?
A: Disabling your sensors is dangerous and violates safety standards. Your opener may still work, but it puts people and property at risk.
Also in Garage Door Parts - DIY Handbook


How to Upgrade Your TorqueMaster Original Springs (They're Discontinued - Upgrade to New Plus Version)
TorqueMaster Original (TM/TM1) springs have been discontinued. Discover why upgrading to the newer TorqueMaster Plus version is your best move - plus how to measure your door and exactly and what info to send us for the perfect replacement springs.
Read more
about How to Fix a Garage Door That Only Closes with Wall Button

How to Install a Garage Door Quieting Kit: Complete Guide
We've found that replacing the majority of the hinges and installing the rest of the kit does a pretty good job of silencing the door without needing to deal with that bottom roller. If you really feel it needs to be changed, we have a separate process for that, but it's not necessary for most installations.
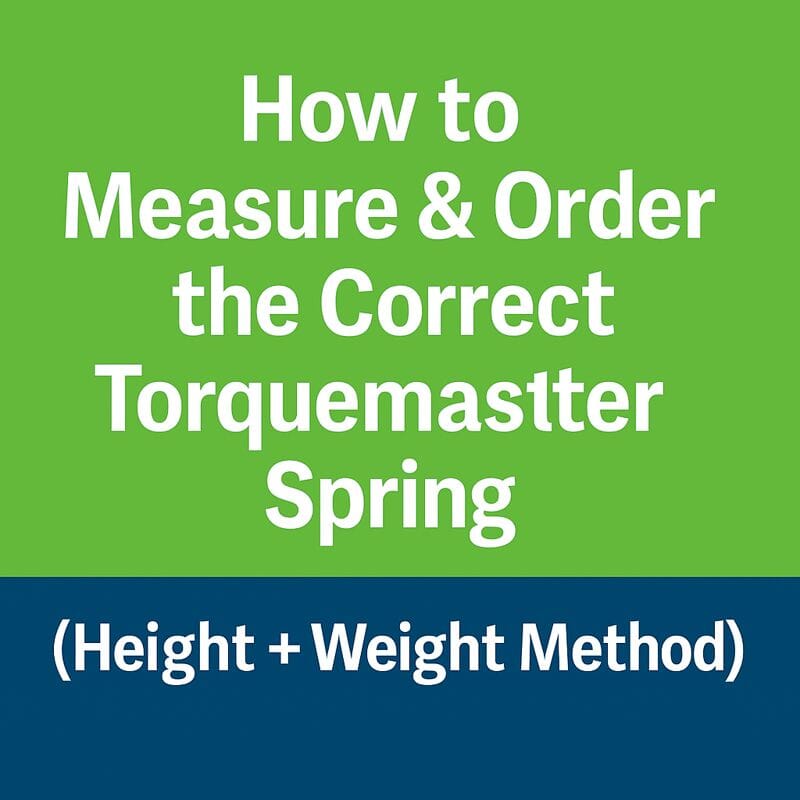

How to Order the Correct Torquemaster Spring | Height & Weight Method
Stop guessing your TorqueMaster spring. If the sticker is gone or unreadable, measuring your door height and weight is the only reliable way to get the right replacement the first time.
Read more
about How to Fix a Garage Door That Only Closes with Wall Button