
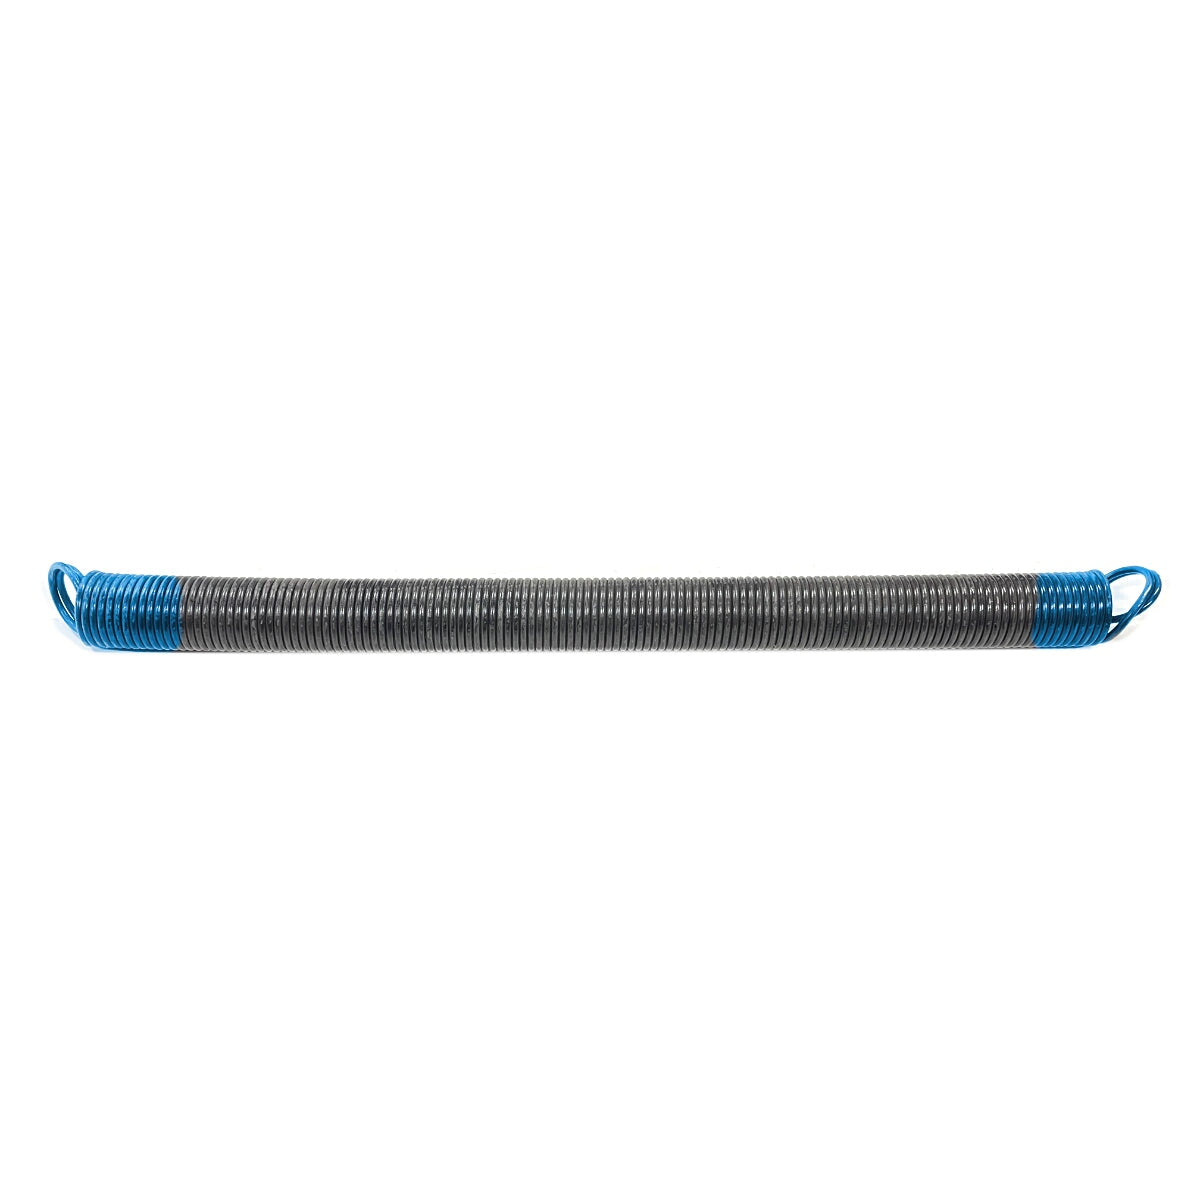
Springs


TorqueMaster Flag Angle Brackets DIY Upgrade for Quick‑Install Tracks
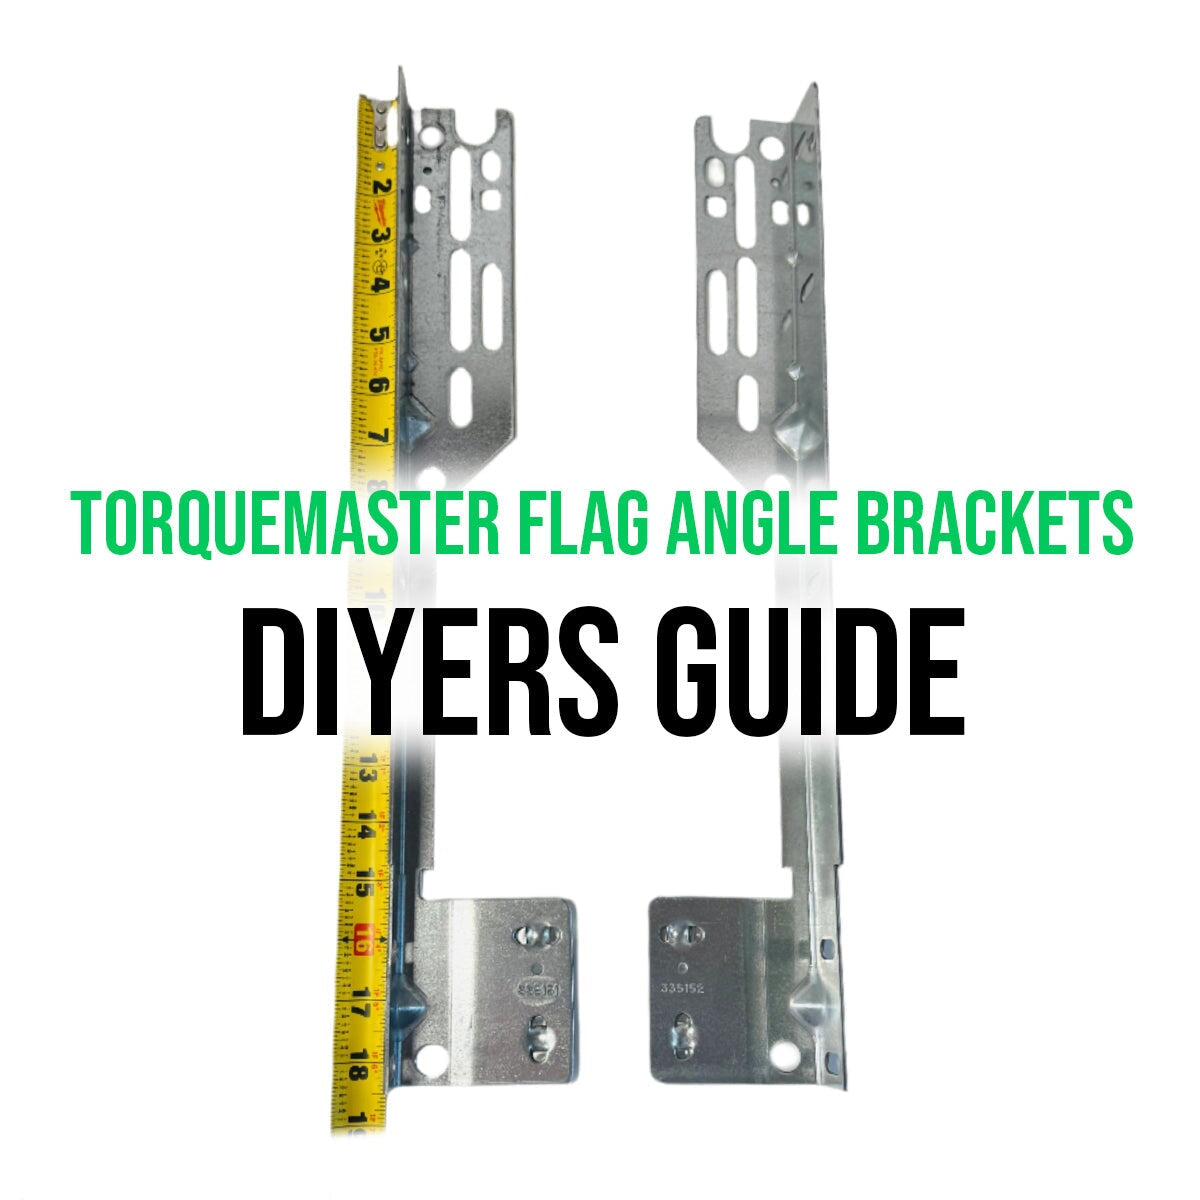

Meet the Stars of the Track Show
Say hello to the TorqueMaster 12″ Radius Flag Angle Brackets and their taller cousins, the TorqueMaster 15″ Radius / Low‑Headroom Brackets. Both arrive in heavy‑duty galvanized steel, pre‑punched for effortless alignment, and purpose‑built for Wayne Dalton TorqueMaster quick‑install track systems.
Why Upgrade?
Restore smooth travel – Bent or rusted flags force tracks out of square, stressing springs and openers.
Boost durability – Galvanized replacements resist corrosion far longer than factory originals.
DIY‑friendly swap – Pre‑punched slots match existing holes—no measuring gymnastics required.
12″ vs 15″ – Which Radius Fits?
12″ Radius: Standard headroom installs. If your door rises in a gentle arc without clearance issues, this is your Goldilocks pick.
15″ Radius / Low Headroom: Needed when joists, shelves, or a beefy opener eat into ceiling space. The longer flag shifts the track pivot point, letting the door tuck closer to the header on the way up.
Pro tip: Grab a tape measure from hinge point to the first horizontal curve—around 12″ or 15″ tells the tale.
Hardware You’ll Need
- 5/16‑9 × 2″ Zinc Lag Screws – two per bracket to anchor flags to the wood jamb.
- 1/4″‑20 × 7/8″ Self‑Drilling Tek Screws – perfect for re‑securing the vertical track to the new flag slots without pre‑drilling.
- Washers & Hex Nuts – pick matching zinc‑plated options in our full nuts‑and‑bolts collection to spread the load and keep threads tight.
Installation—DIY Friendly
- Secure the door in the down position with Vise‑Grips.
- Remove old brackets: back out lag screws and slide carriage bolts from track slots.
- Position new flags. Align pre‑punched holes with jamb marks; drive in two 5/16″ lag screws.
- Re‑attach track through the flag slots using 1/4‑20 Tek screws or the original carriage bolts.
- Test balance—door should glide smoothly with springs disconnected halfway.
Expect 20–30 minutes per side, even for first‑time DIYers.
Money‑Saving Math
A tech visit to swap brackets can run $150+ in labor alone. Doing it yourself with the hardware above costs a fraction and leaves an emergency‑fund‑worthy chunk of change in your pocket—plus bragging rights at the next neighborhood cook‑out.
FAQs
Q: Can these brackets work on non‑TorqueMaster doors?
A: They’re engineered for Wayne Dalton TorqueMaster tracks; standard torsion systems use different mounting geometry.
Q: Do I really need both lag screws and Tek screws?
A: Yes—lag screws bite into the jamb, while Tek or carriage bolts fasten the track to the flag. Mixing fasteners compromises strength.
Q: What if my track radius is neither 12″ nor 15″?
A: Measure again—most residential setups fall into one of those. If you find 10″ or 20″ on vintage doors, drop our support team a email.
Q: How often should flag angle brackets be replaced?
A: Inspect annually; replace when you see bending, elongated holes, or rust pitting thicker than a credit‑card edge.
Q: Will this void my opener warranty?
A: Swapping like‑for‑like hardware doesn’t affect opener warranties, but always follow the opener manufacturer’s safety guidelines.
Also in Garage Door Parts - DIY Handbook


How to Upgrade Your TorqueMaster Original Springs (They're Discontinued - Upgrade to New Plus Version)
TorqueMaster Original (TM/TM1) springs have been discontinued. Discover why upgrading to the newer TorqueMaster Plus version is your best move - plus how to measure your door and exactly and what info to send us for the perfect replacement springs.
Read more
about TorqueMaster Flag Angle Brackets DIY Upgrade for Quick‑Install Tracks

How to Install a Garage Door Quieting Kit: Complete Guide
We've found that replacing the majority of the hinges and installing the rest of the kit does a pretty good job of silencing the door without needing to deal with that bottom roller. If you really feel it needs to be changed, we have a separate process for that, but it's not necessary for most installations.

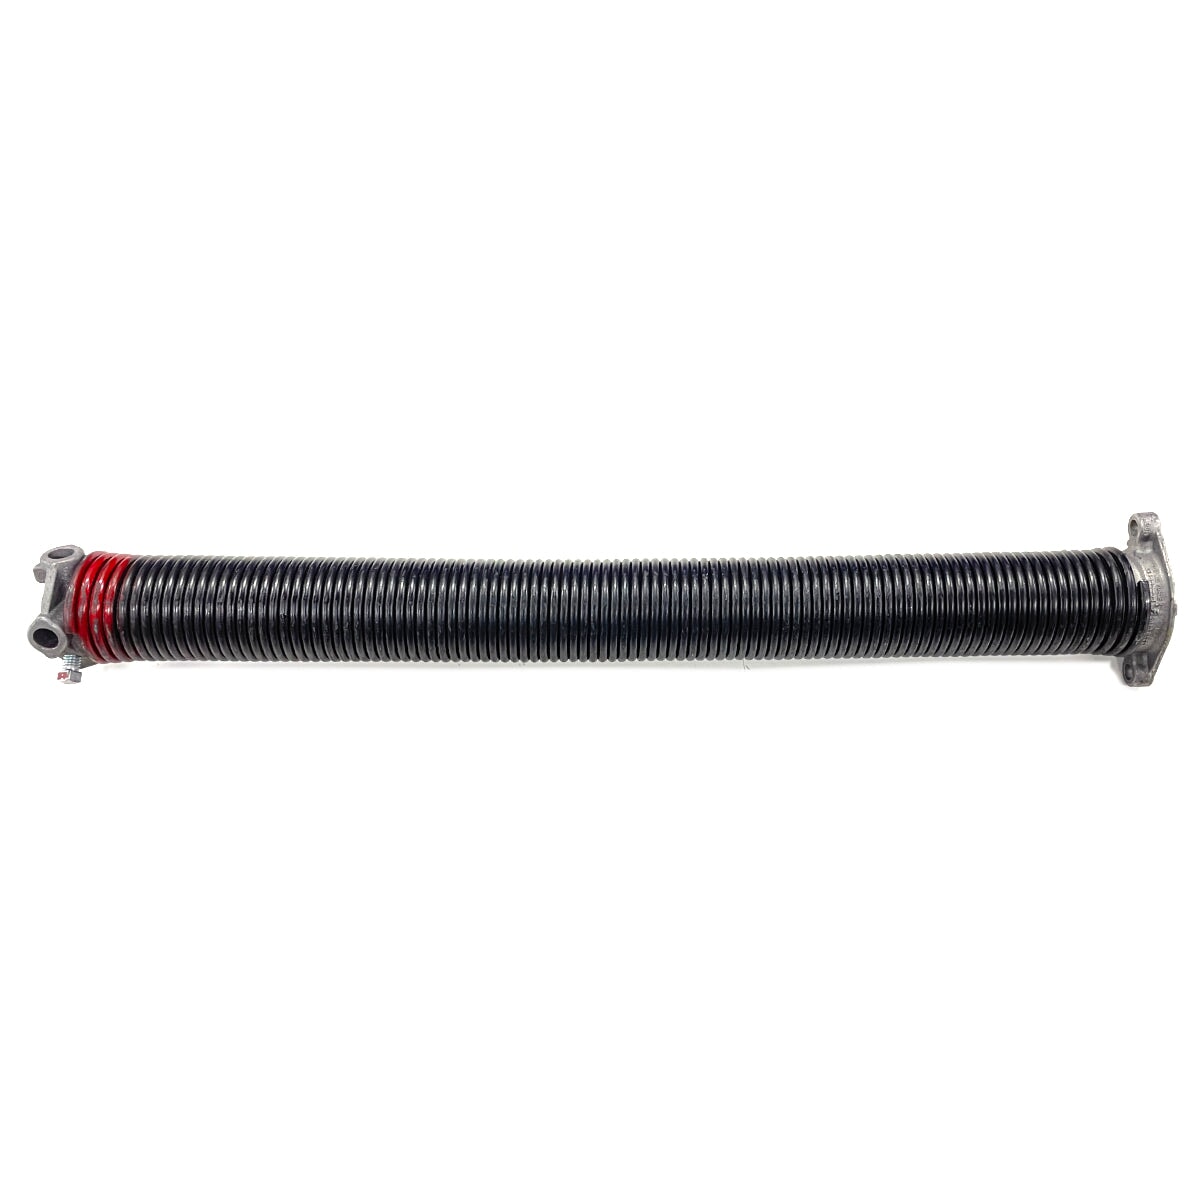
How to Order the Correct Torquemaster Spring | Height & Weight Method
Stop guessing your TorqueMaster spring. If the sticker is gone or unreadable, measuring your door height and weight is the only reliable way to get the right replacement the first time.
Read more
about TorqueMaster Flag Angle Brackets DIY Upgrade for Quick‑Install Tracks