
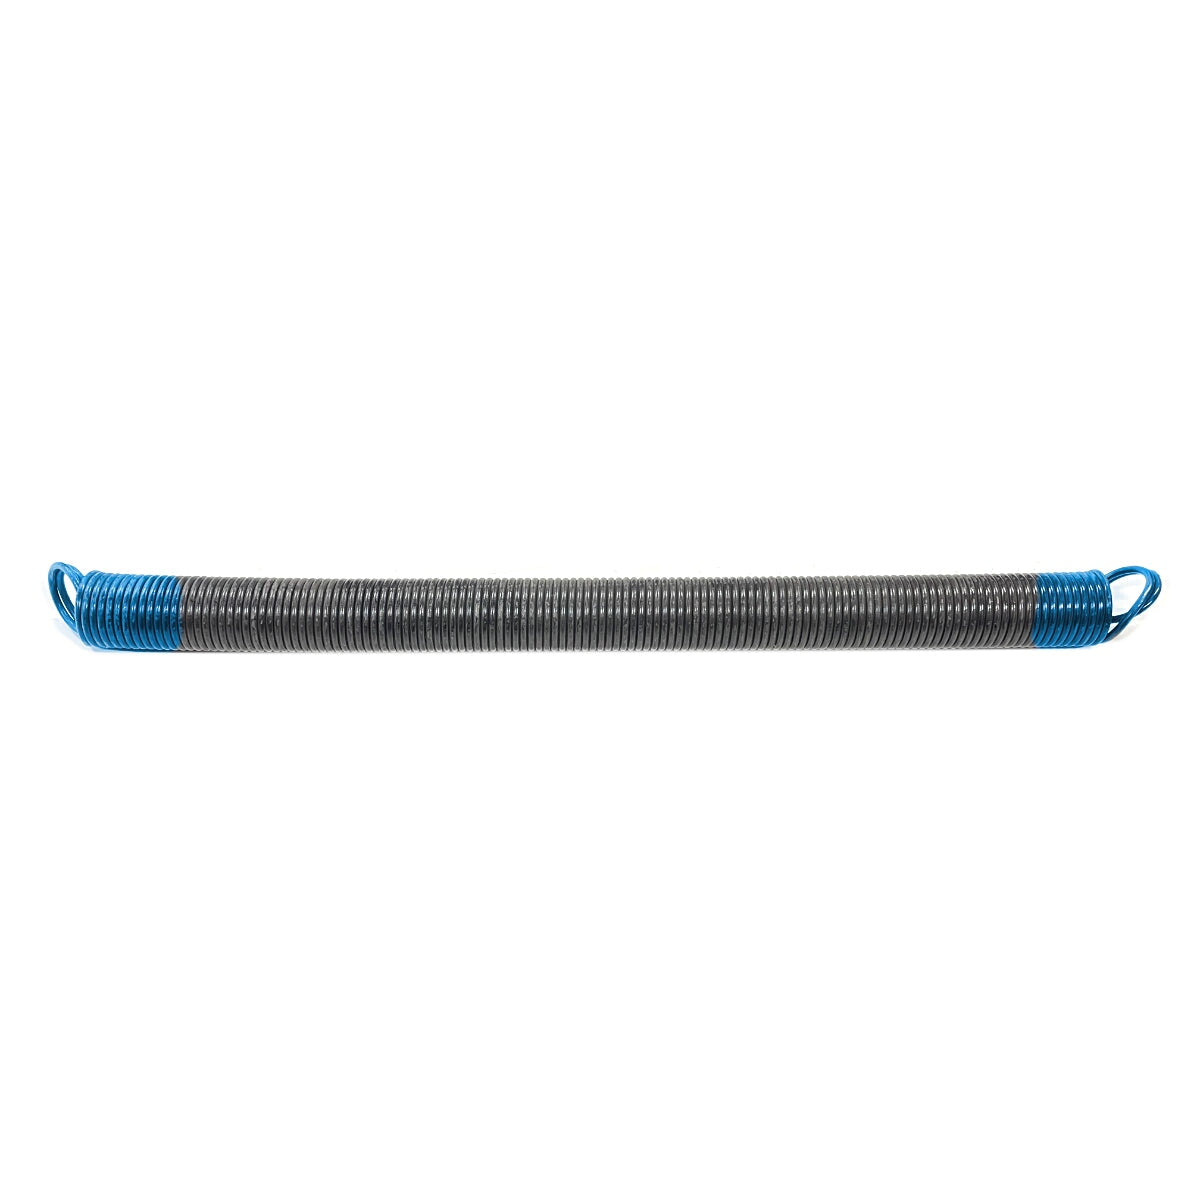
Springs


How to Replace a Wayne Dalton Anti-Pinch Roller Hinge (9100 & 9600 Models)
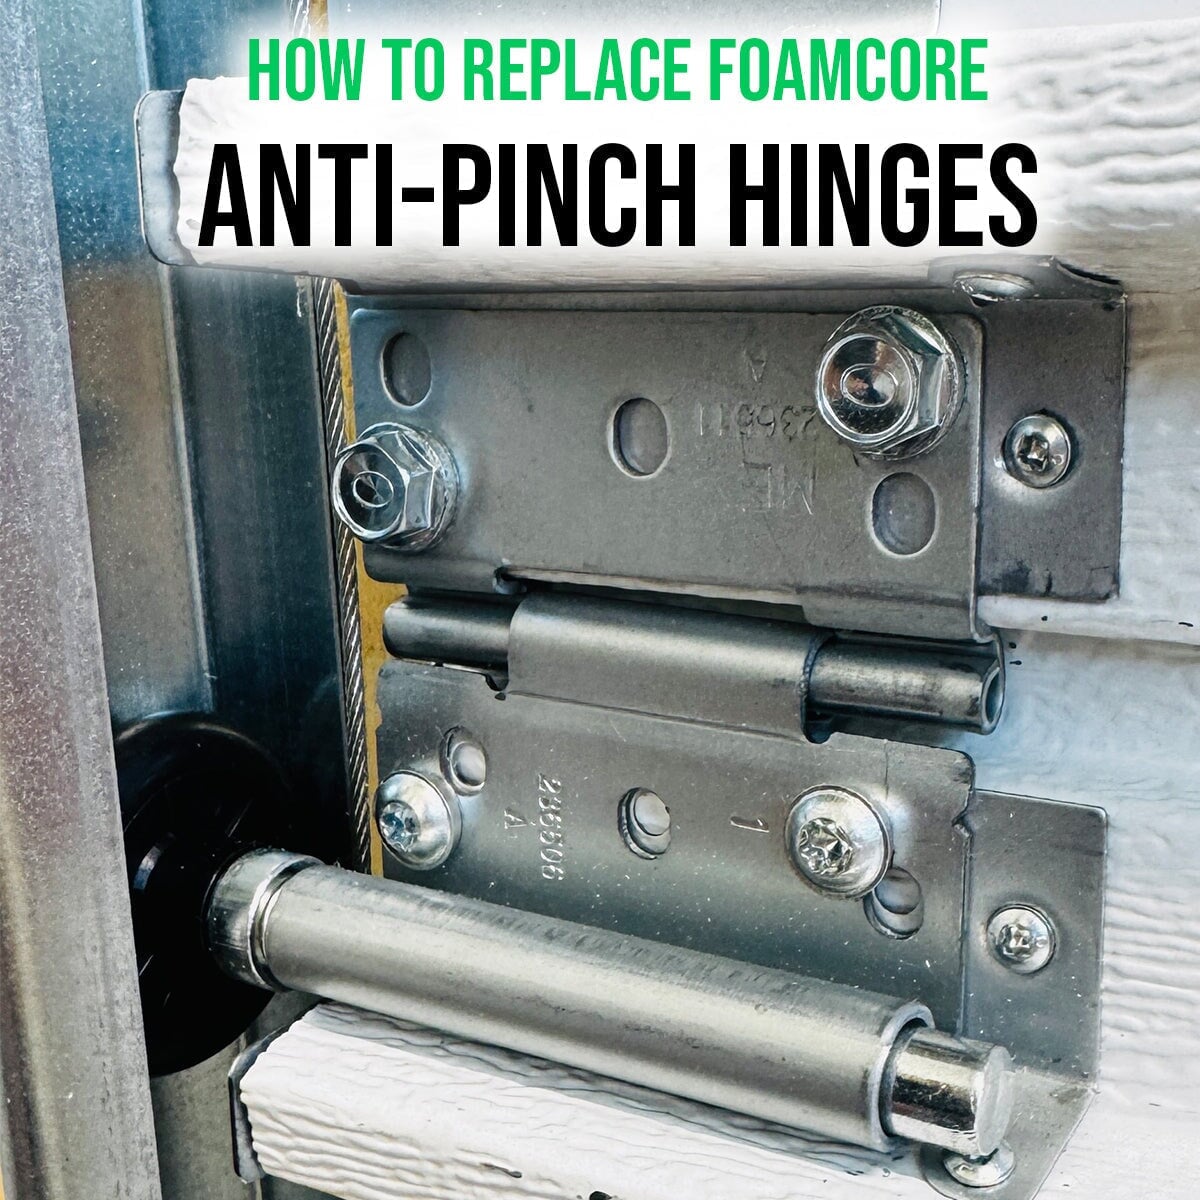

If your Wayne Dalton 9100 or 9600 garage door has seen better days, it might be time to replace those outer edge roller hinges. These anti-pinch roller hinges are essential for keeping your door panels aligned and preventing the rollers from jumping the track—not to mention they help reduce the risk of finger-pinching injuries. In this quick guide, we’ll show you exactly how to replace one in under two minutes.
What Is an Anti-Pinch Roller Hinge?
This hinge sits on the left and right edges of your foamcore-style Wayne Dalton garage door panels. It holds the roller securely in place while providing a safety upgrade by preventing panel pinch. If your door opens unevenly, feels jerky, or you notice a damaged hinge, it's time to replace it.
Step-by-Step Installation Guide
- Step 1: Remove the original screws and gently slide the roller out of the track.
- Step 2: Insert the roller into the new hinge, then line up the hinge with your existing screw holes.
- Step 3: Reinstall using your original T-25 Torx screws—or save time with hex head self-tapping screws, available on our site.
Note: Hinges are sold individually and don’t include mounting hardware, so be sure you have screws on hand before you start.
Not Sure Which Hinge Number You Need?
Check out our fast video guide to identify hinge numbers for Wayne Dalton garage doors.
Replacing Center Hinges Instead?
No problem. We’ve got a video for that too. Watch our Interior Hinge Install Guide for installing anti-pinch center hinges.
Shop the Part
Grab the exact hinge you need right here: Shop Wayne Dalton Anti-Pinch Roller Hinge
Watch the Install Video
FAQs
Q: Can I install this hinge without removing the garage door panel?
A: Yes! You only need to remove the screws and the roller—no need to detach the panel.
Q: Do I need special tools?
A: Just a screwdriver or drill with a T-25 Torx bit. For faster installs, we recommend using a 1/4" driver with hex head screws.
Q: Are the screws included?
A: Screws are not included with the hinge. You can reuse your originals or purchase hex head self-tapping screws separately from our site.
Q: How do I know which hinge number to order?
A: Each hinge is stamped with a number. If you're unsure, watch our hinge number ID video for quick help.
Also in Garage Door Parts - DIY Handbook


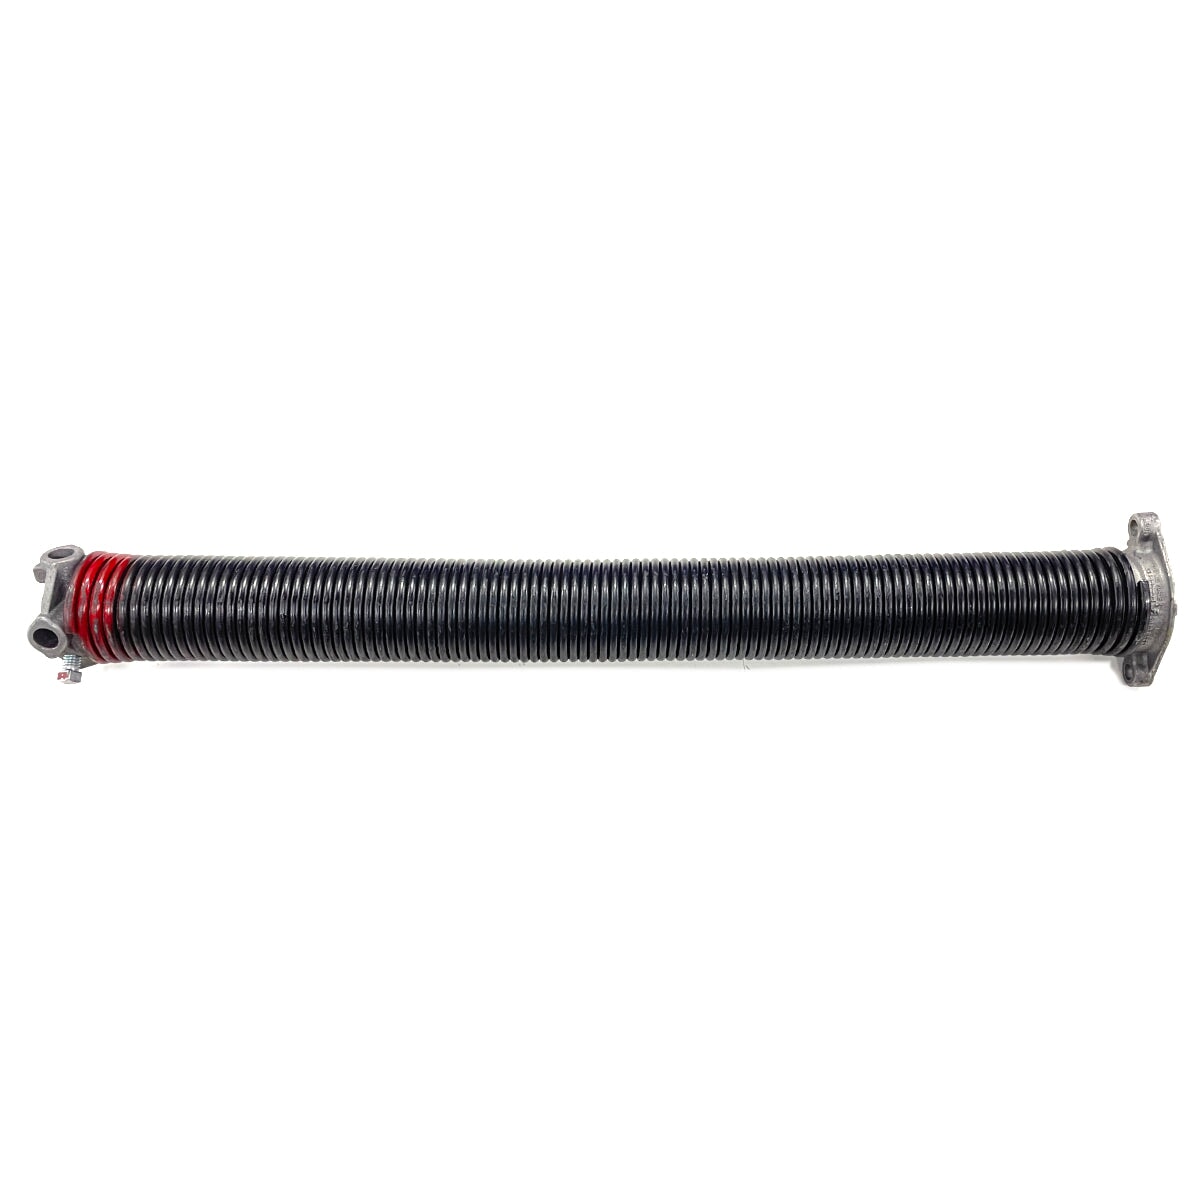
How to Upgrade Your TorqueMaster Original Springs (They're Discontinued - Upgrade to New Plus Version)
TorqueMaster Original (TM/TM1) springs have been discontinued. Discover why upgrading to the newer TorqueMaster Plus version is your best move - plus how to measure your door and exactly and what info to send us for the perfect replacement springs.
Read more
about How to Replace a Wayne Dalton Anti-Pinch Roller Hinge (9100 & 9600 Models)

How to Install a Garage Door Quieting Kit: Complete Guide
We've found that replacing the majority of the hinges and installing the rest of the kit does a pretty good job of silencing the door without needing to deal with that bottom roller. If you really feel it needs to be changed, we have a separate process for that, but it's not necessary for most installations.


How to Order the Correct Torquemaster Spring | Height & Weight Method
Stop guessing your TorqueMaster spring. If the sticker is gone or unreadable, measuring your door height and weight is the only reliable way to get the right replacement the first time.
Read more
about How to Replace a Wayne Dalton Anti-Pinch Roller Hinge (9100 & 9600 Models)