
Springs


How to Install TorqueMaster Flag Brackets (12” & 15” Quick-Install)
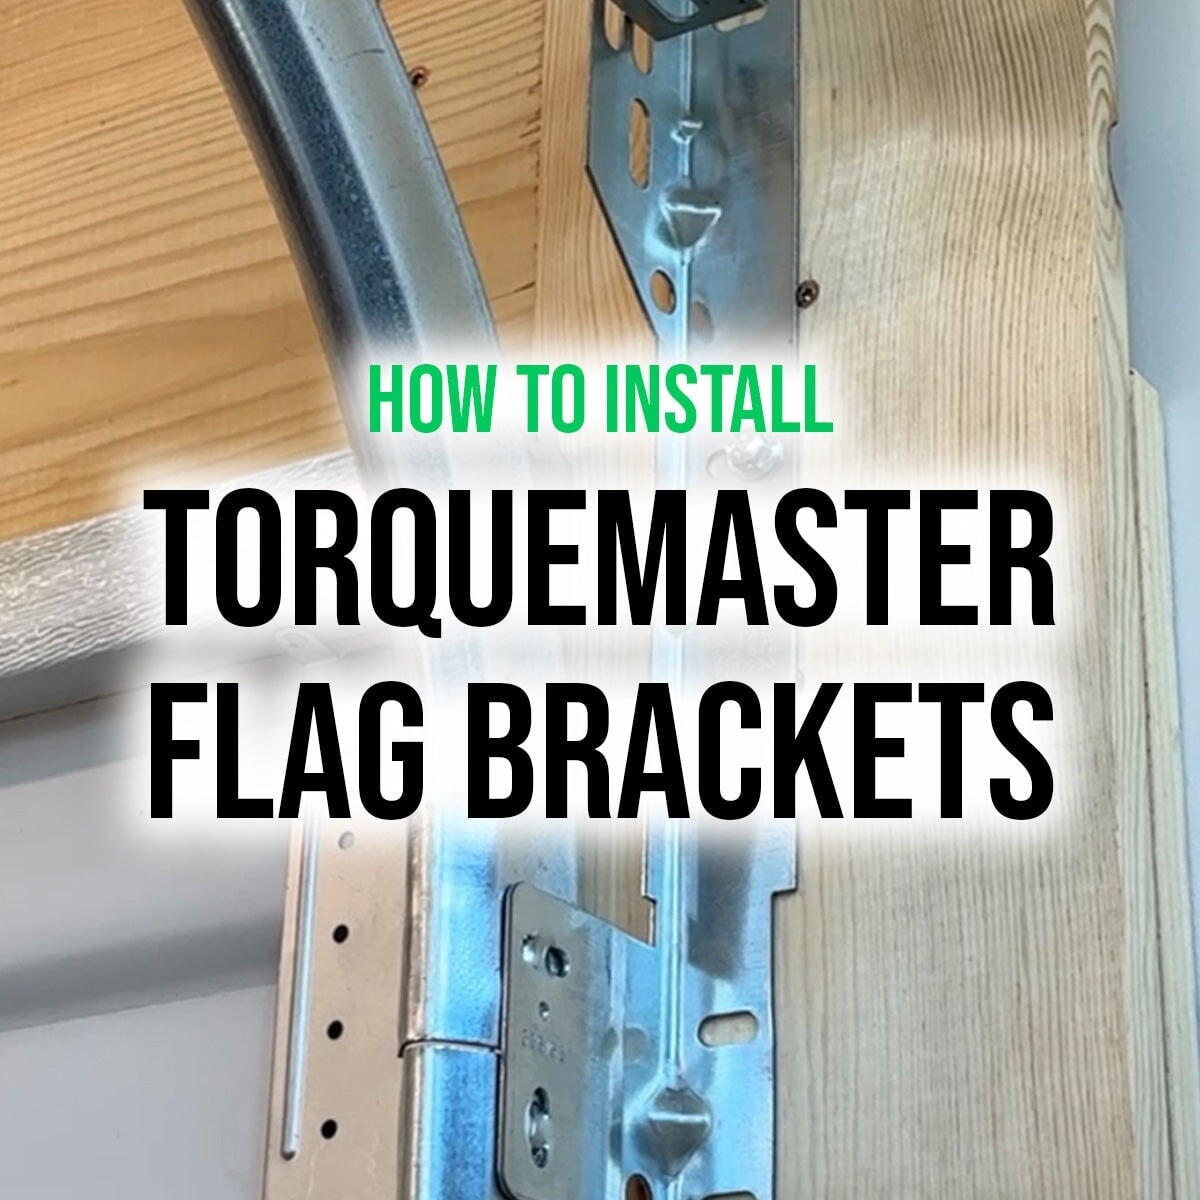

If you're replacing or upgrading your Wayne Dalton TorqueMaster spring system, installing new flag brackets is a key step in the process. These brackets anchor the vertical and horizontal tracks to the wall and support the spring tube. Whether you're working with a 12-inch or 15-inch radius track, the installation is simple with the right parts and tools.
⚠️ Not sure what radius your track is?
Check out our Track Radius Measuring Guide to find out before you start.
🛠 What You’ll Need:
- TorqueMaster Flag Brackets (12” or 15” radius)
- 5/16" lag screws
- 3/8” track bolts and nuts
- Level
- Drill or ratchet
🔧 Step-by-Step Installation:
1. Choose the Correct Bracket
Before you begin, verify whether your garage door uses a 12" or 15" radius track. This will determine which flag bracket you need:
2. Position the Bracket
Place the bracket at the junction where the vertical track meets the horizontal curve. The back of the bracket should sit flush against the wall or jamb board.
3. Secure to the Jamb
Use lag screws through the slotted holes to fasten the bracket to the wall. Make sure it’s level and solid — this is what holds the track and spring system in place.
4. Attach the Track to the Bracket
Line up the vertical track’s pre-punched holes with the bracket and insert the 1/4” bolts with nuts. Tighten everything down securely.
🎥 Watch the Install in Action
Prefer a visual guide? Watch our quick step-by-step video below:
▶️ Watch: How to Install TorqueMaster Flag Brackets
💡 Pro Tip: Check for Roller or Track Damage
While you're installing flag brackets, it’s a good time to check your garage door rollers and track for wear. Upgrading to nylon rollers can help your door run smoother and quieter.
✅ Ready to Order?
Get the exact bracket you need for a quick and secure install:
Need help figuring out which part fits your setup? Contact our team and we’ll help you find the right solution fast.
Also in Garage Door Parts - DIY Handbook


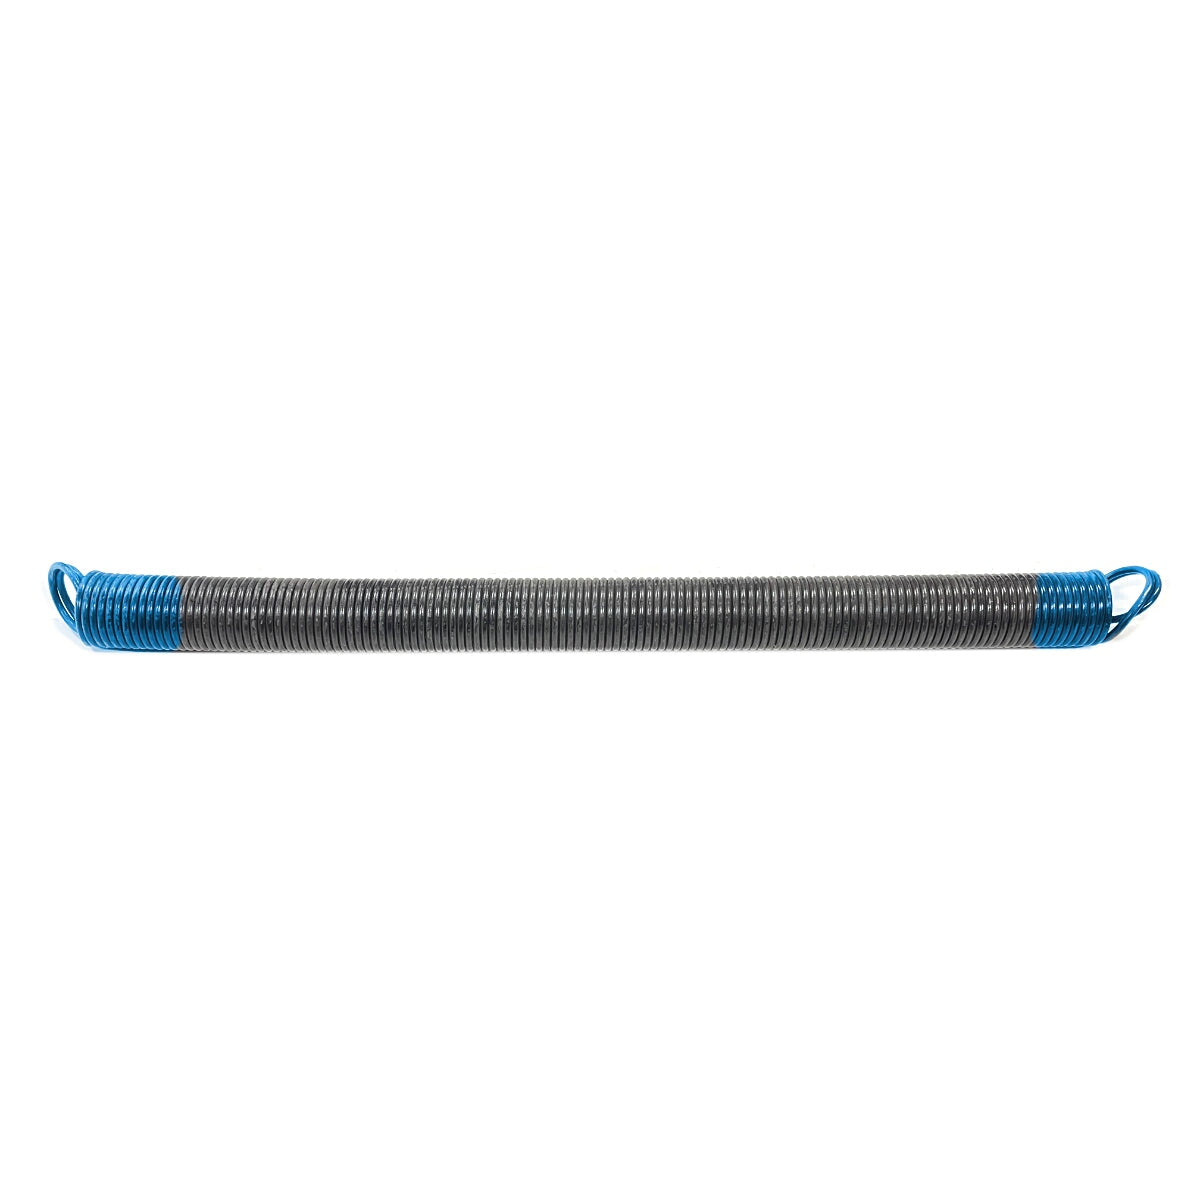
How to Upgrade Your TorqueMaster Original Springs (They're Discontinued - Upgrade to New Plus Version)
TorqueMaster Original (TM/TM1) springs have been discontinued. Discover why upgrading to the newer TorqueMaster Plus version is your best move - plus how to measure your door and exactly and what info to send us for the perfect replacement springs.
Read more
about How to Install TorqueMaster Flag Brackets (12” & 15” Quick-Install)

How to Install a Garage Door Quieting Kit: Complete Guide
We've found that replacing the majority of the hinges and installing the rest of the kit does a pretty good job of silencing the door without needing to deal with that bottom roller. If you really feel it needs to be changed, we have a separate process for that, but it's not necessary for most installations.

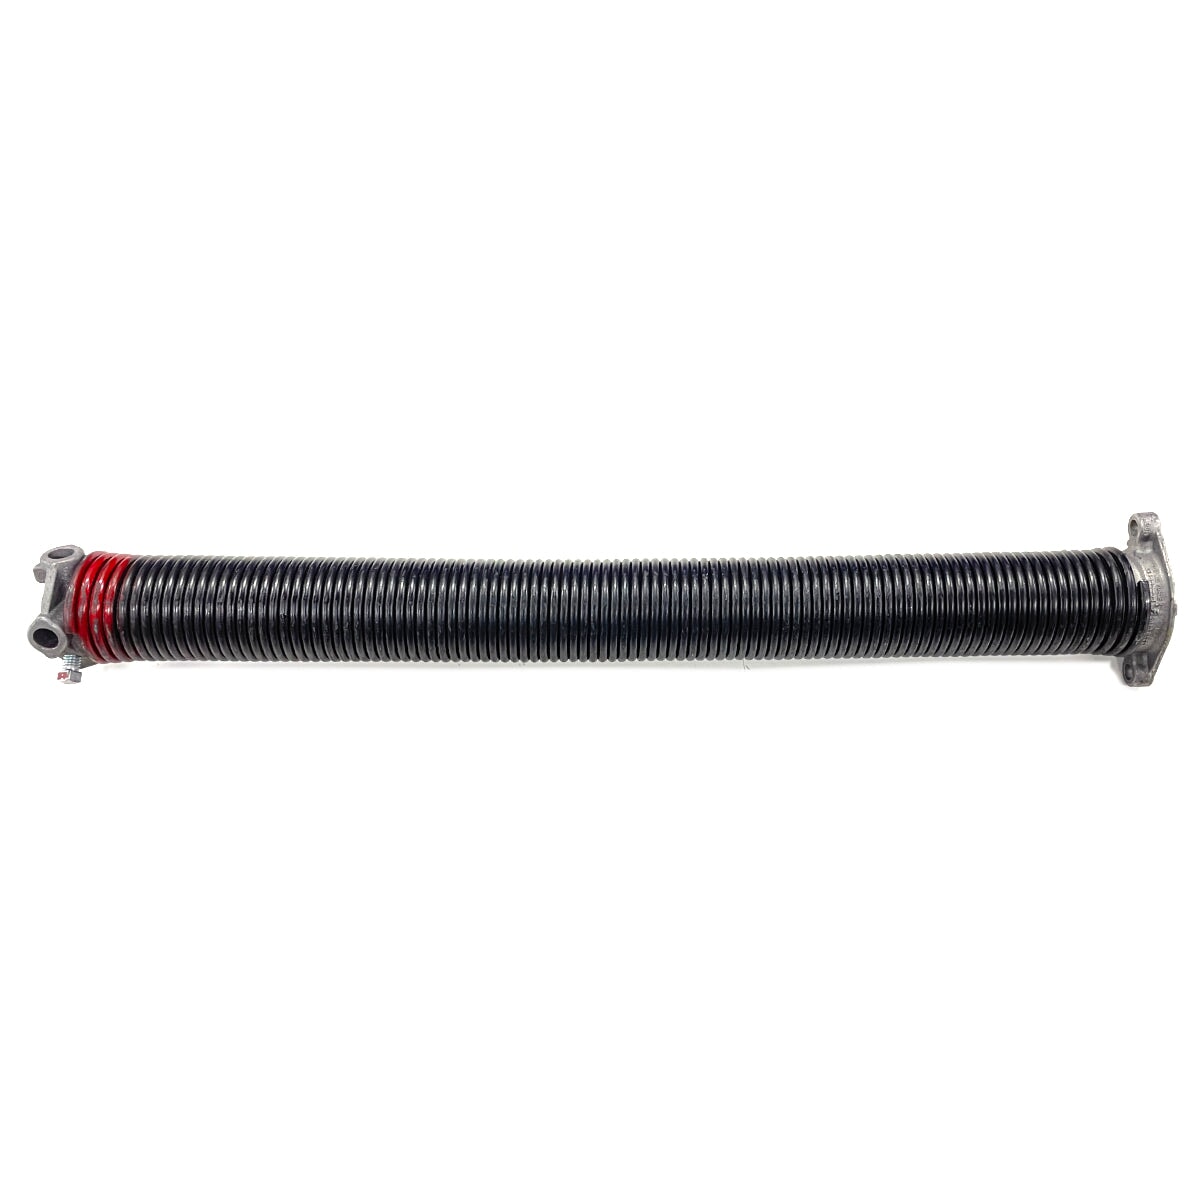
How to Order the Correct Torquemaster Spring | Height & Weight Method
Stop guessing your TorqueMaster spring. If the sticker is gone or unreadable, measuring your door height and weight is the only reliable way to get the right replacement the first time.
Read more
about How to Install TorqueMaster Flag Brackets (12” & 15” Quick-Install)