
Springs


Handpicked for you...


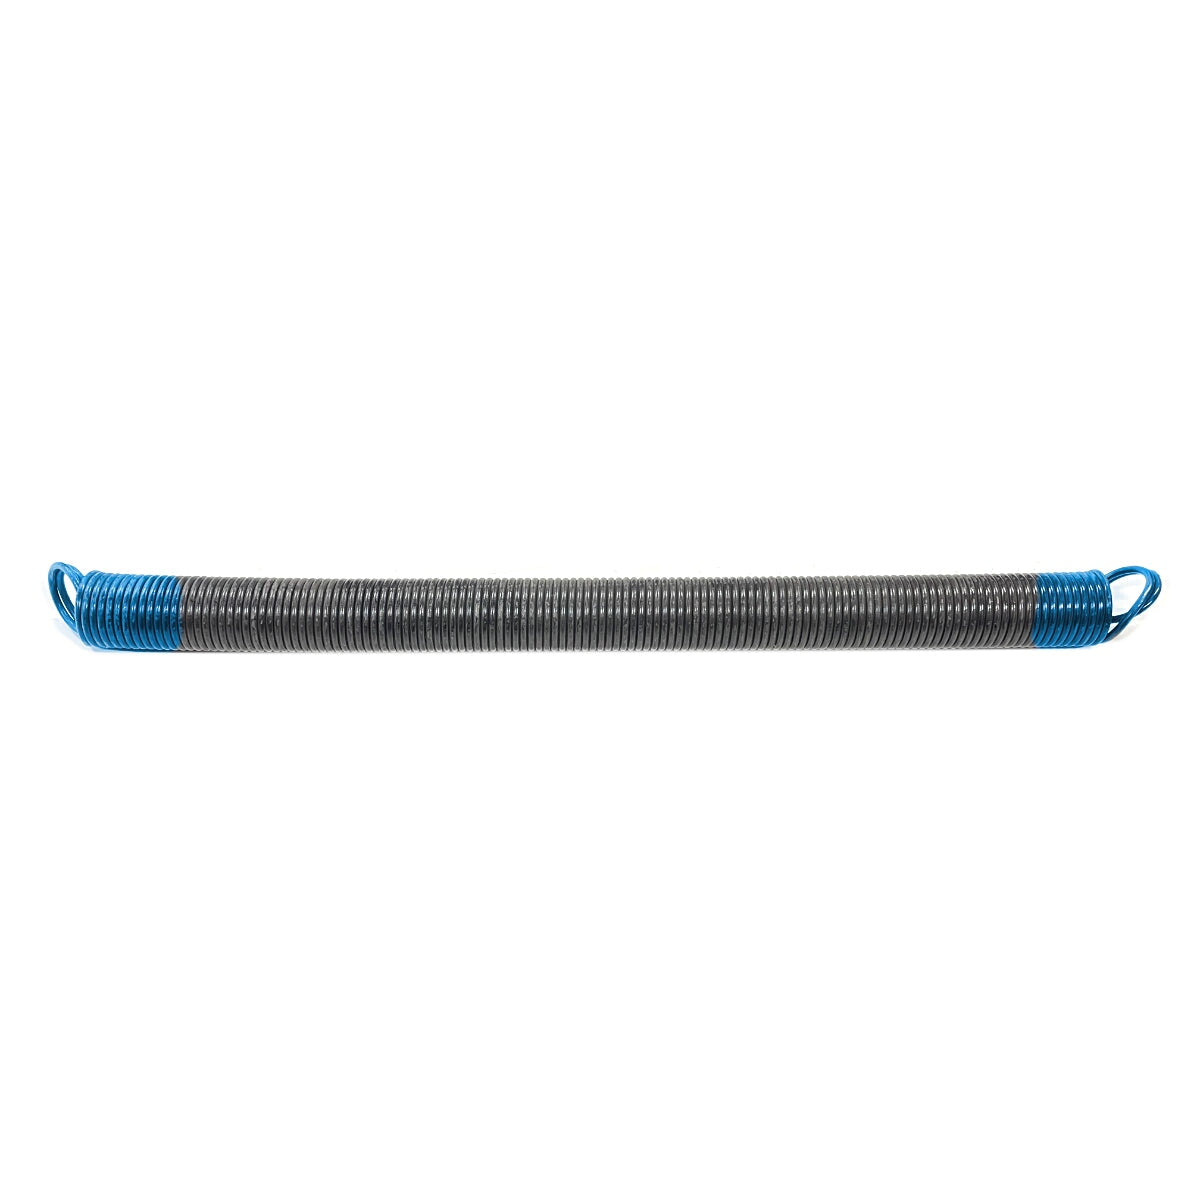
How to Upgrade Your TorqueMaster Original Springs (They're Discontinued - Upgrade to New Plus Version)
TorqueMaster Original (TM/TM1) springs have been discontinued. Discover why upgrading to the newer TorqueMaster Plus version is your best move - plus how to measure your door and exactly and what info to send us for the perfect replacement springs.
Read more
about How to Upgrade Your TorqueMaster Original Springs (They're Discontinued - Upgrade to New Plus Version)

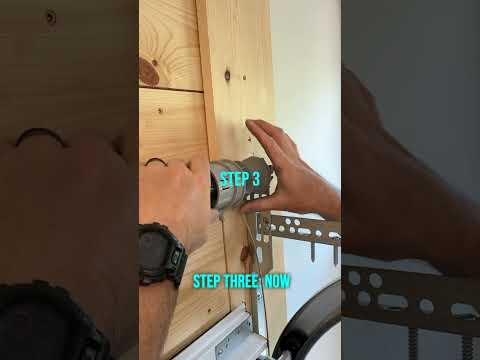
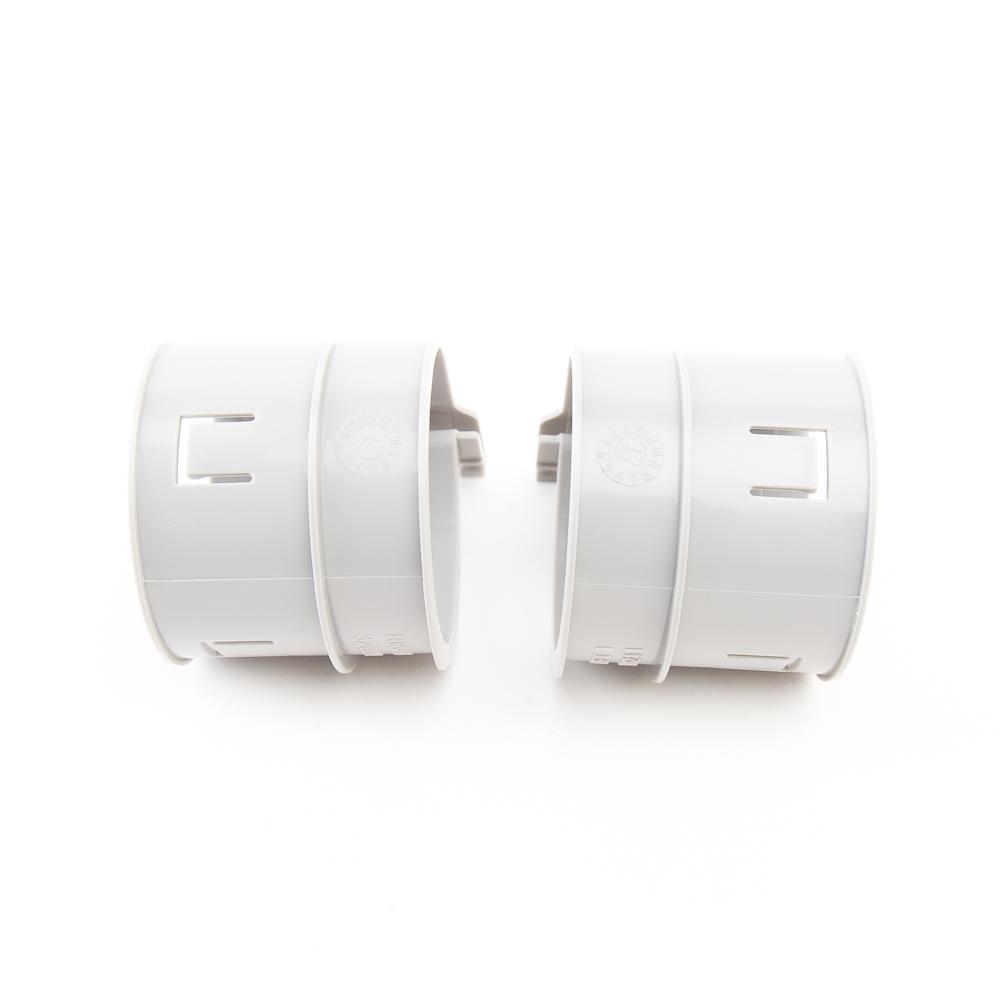
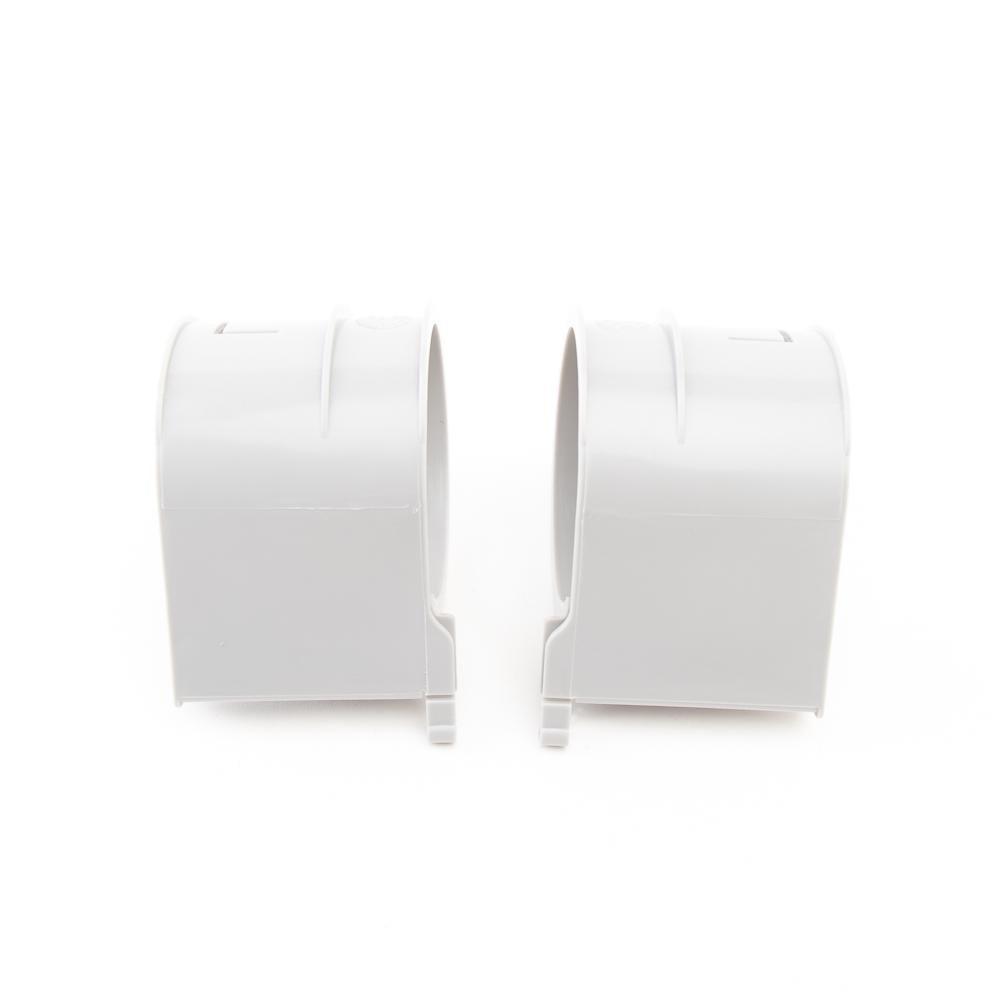
How to Install a Garage Door Quieting Kit: Complete Guide
We've found that replacing the majority of the hinges and installing the rest of the kit does a pretty good job of silencing the door without needing to deal with that bottom roller. If you really feel it needs to be changed, we have a separate process for that, but it's not necessary for most installations.

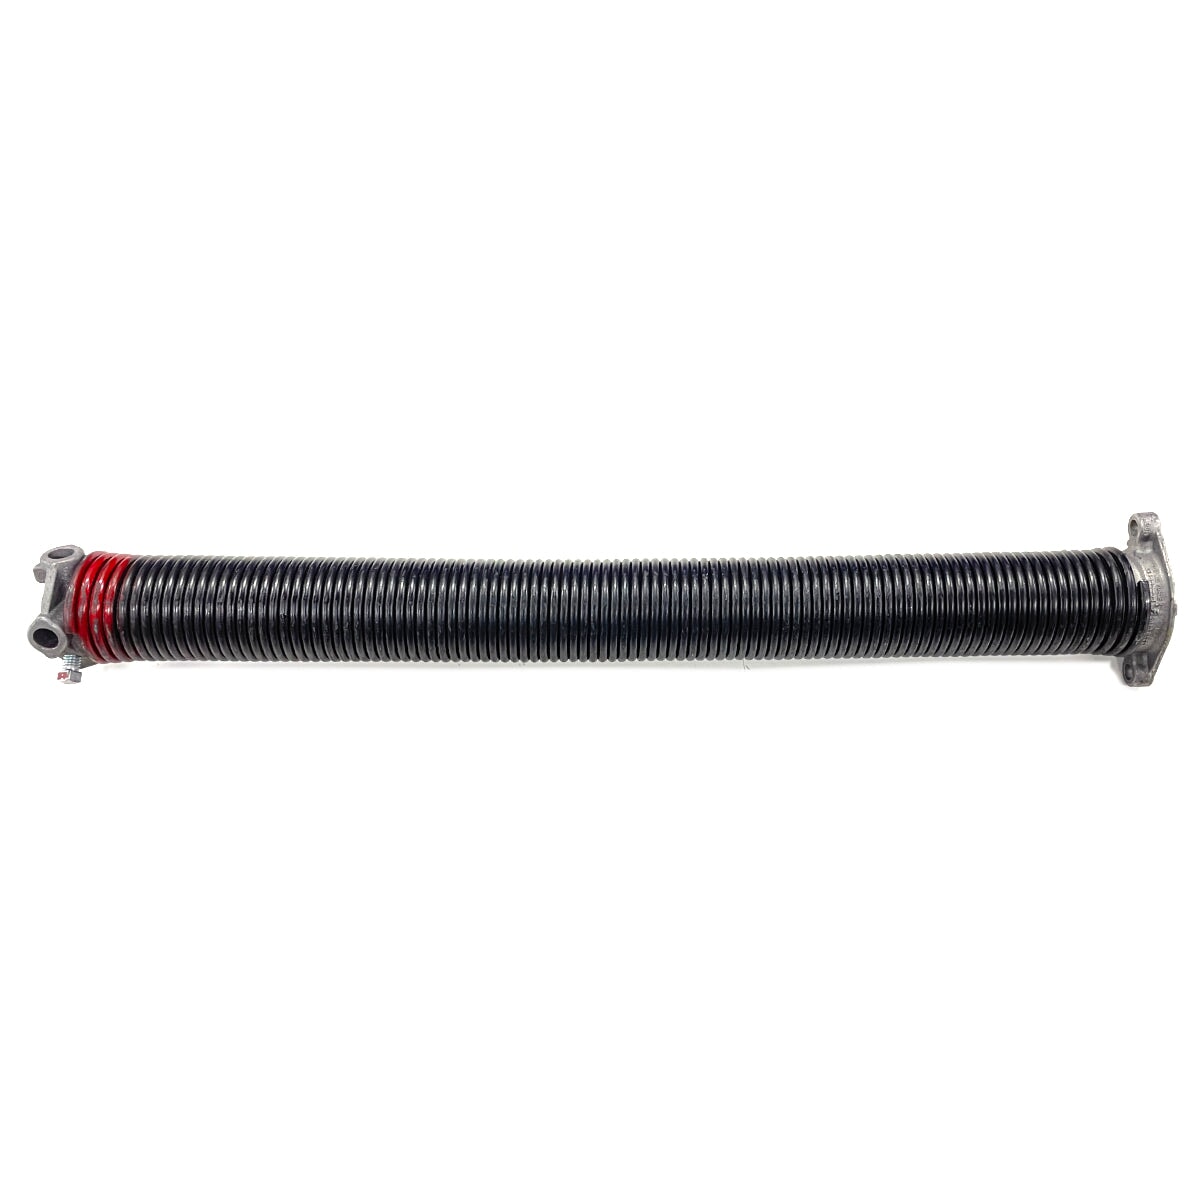
How to Order the Correct Torquemaster Spring | Height & Weight Method
Stop guessing your TorqueMaster spring. If the sticker is gone or unreadable, measuring your door height and weight is the only reliable way to get the right replacement the first time.
Read more
about How to Order the Correct Torquemaster Spring | Height & Weight Method