
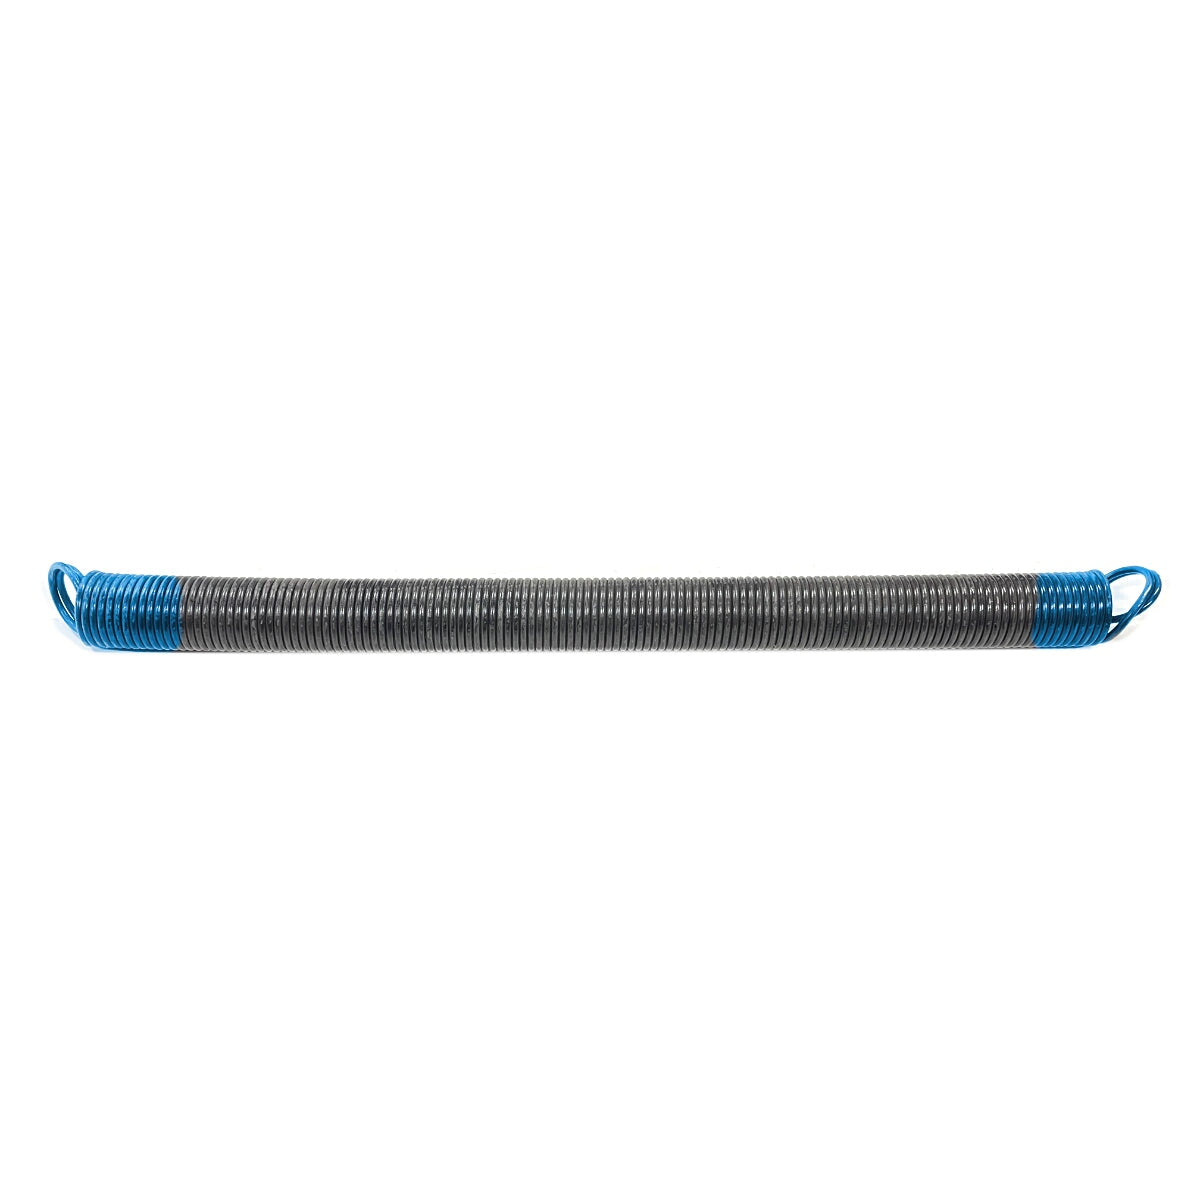
Springs


DIY Garage Door Upgrade: Torquemaster Flag Angle Brackets
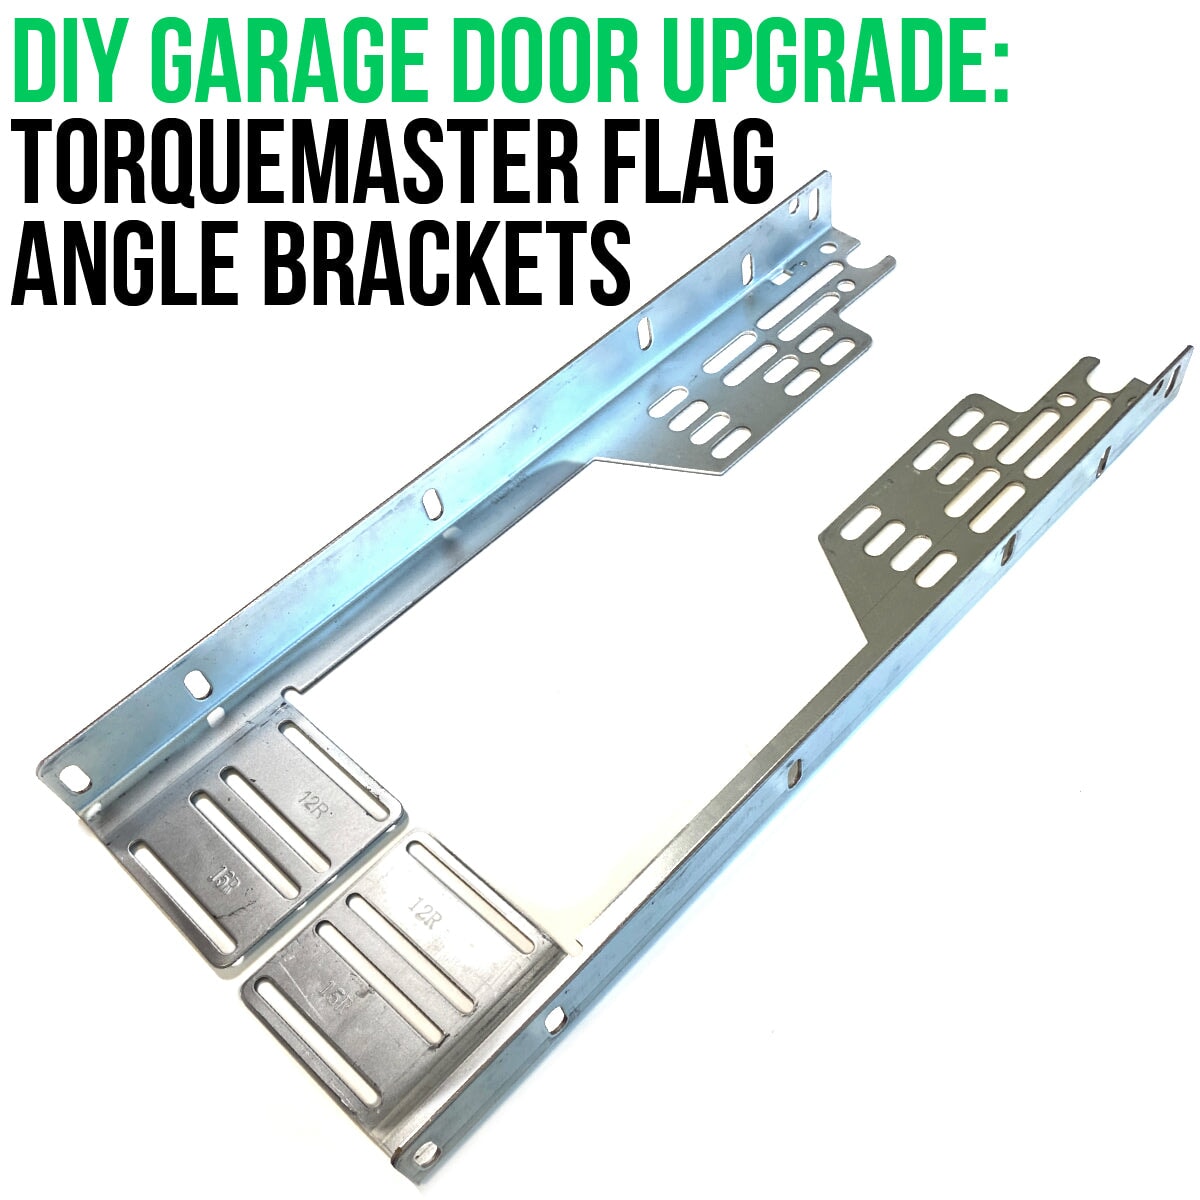

Hey fellow DIY enthusiasts! Today, I'm going to share with you a fantastic product that I've discovered and used recently in one of my garage door upgrade projects: Torquemaster Flag Angle Brackets. These little wonders have made my life so much easier, and I'm sure they'll do the same for you. So, let's dive in!
Introducing Torquemaster Flag Angle Brackets
These brackets are specifically designed for Torquemaster garage door spring systems, and they're made of high-quality galvanized steel. They're fully adjustable, making them compatible with 10, 12, and 15 radius tracks (radius = the curvature of the horizontal track that guides the garage door as it opens and closes).
The unique flag shape of these brackets makes them ideal for attaching vertical tracks to the jamb of your garage door opening. One side of the bracket attaches to the track, while the other side fastens to the jamb, ensuring a secure and stable attachment.
What I particularly love about these brackets is their multiple mounting holes. This provides flexibility and adjustability for a perfect fit, making them a breeze to install.
Torquemaster Garage Door Spring Systems
Before I go into more detail about the Torquemaster brackets, let's talk about Torquemaster garage door spring systems. This spring system is designed to provide a more efficient and safer way to manage the tension in your garage door springs.
Traditional garage door springs can be dangerous when they fail, as they can suddenly release the stored energy. Torquemaster systems, on the other hand, have an enclosed spring design that helps prevent injuries when a spring breaks. Plus, they're easier to adjust, making them perfect for DIY homeowners like us!
Installing Your Torquemaster Flag Angle Brackets
Now that we've covered the basics, let's talk about how to install these fantastic brackets. Here's a quick step-by-step guide on how I installed them on my garage door:
- First, I made sure my garage door was in the closed position and disconnected the opener from the door.
- Next, I removed the old brackets from the vertical tracks and jamb, making sure to keep track of the hardware.
- After that, I lined up the new Torquemaster Flag Angle Brackets with the mounting holes on the vertical tracks and jamb, making any necessary adjustments for a perfect fit.
- Once everything was aligned, I secured the brackets to the tracks and jamb using the old bolts/screws from previous install.
- Finally, I reconnected the opener to the door, tested it to make sure everything was working correctly, and admired my handiwork!
Final Thoughts
And there you have it, folks! Upgrading your garage door with Torquemaster Flag Angle Brackets is a simple and effective way to improve the stability and safety of your garage door system. I've been incredibly happy with the results, and I'm sure you will be too.
Here's a quick recap of the product details:
- Dimensions: 20 inches long, 2 inches deep, 4.5 inch flags
- Material: High-quality galvanized steel
- Compatibility: 10, 12, and 15 radius tracks
So, if you're a DIY homeowner like me, always looking for ways to improve and maintain your home, give these Torquemaster Flag Angle Brackets a try. They're easy to install, durable, and an excellent addition to your garage door system.
And remember, if you're interested in more DIY tips, tricks, and projects, don't forget to check our blog and follow us on social media. We're always sharing new and exciting content to help you tackle your home improvement projects with confidence. Happy DIY-ing!
Also in Garage Door Parts - DIY Handbook


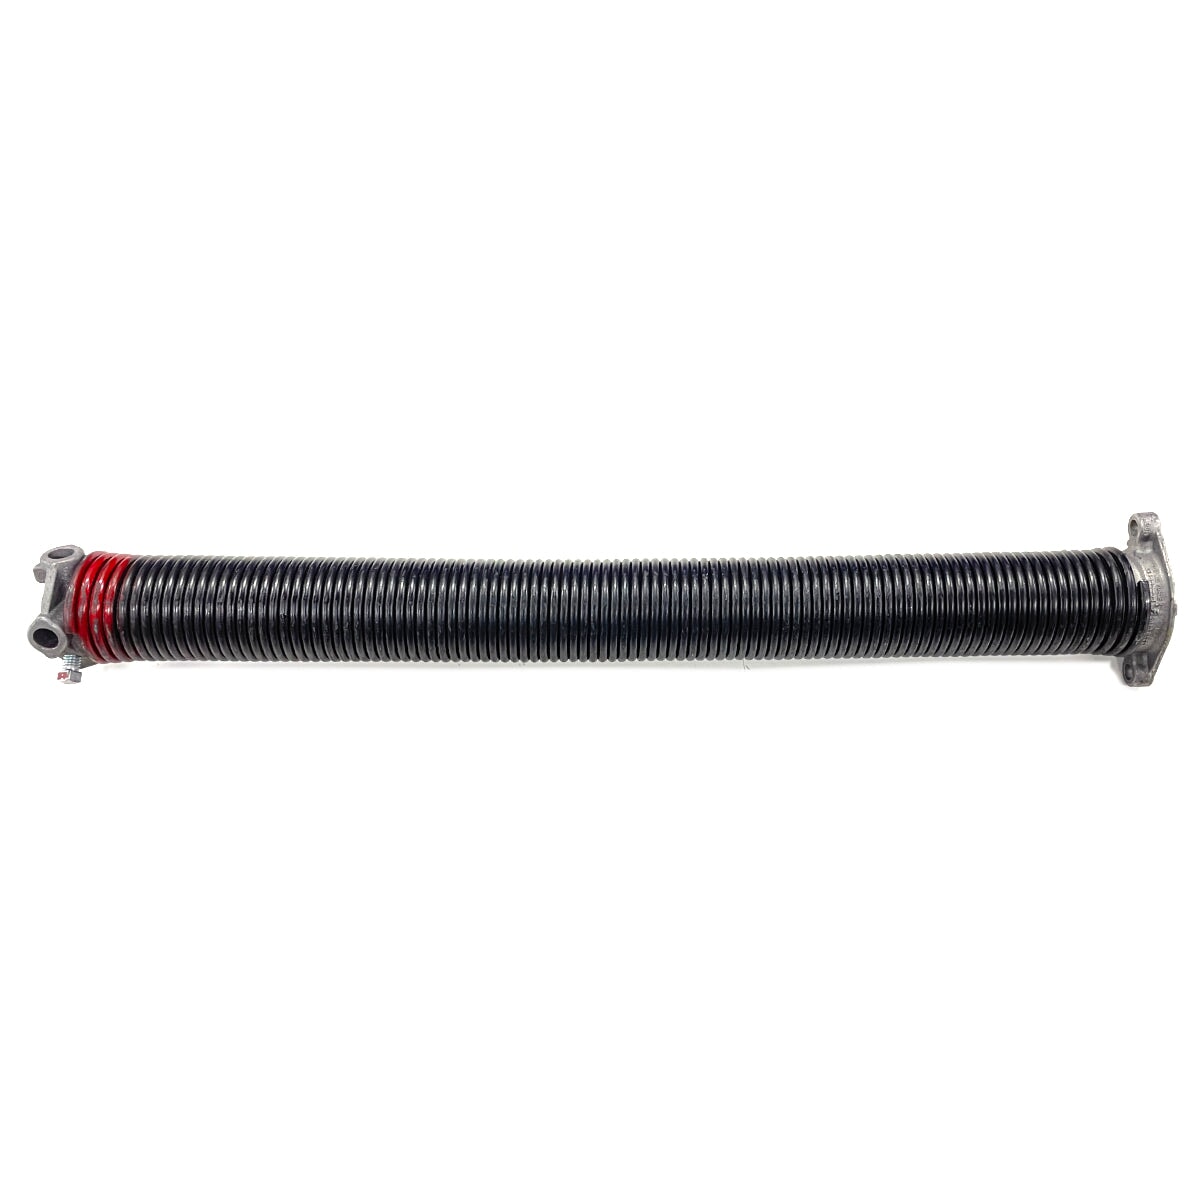
How to Upgrade Your TorqueMaster Original Springs (They're Discontinued - Upgrade to New Plus Version)
TorqueMaster Original (TM/TM1) springs have been discontinued. Discover why upgrading to the newer TorqueMaster Plus version is your best move - plus how to measure your door and exactly and what info to send us for the perfect replacement springs.
Read more
about DIY Garage Door Upgrade: Torquemaster Flag Angle Brackets
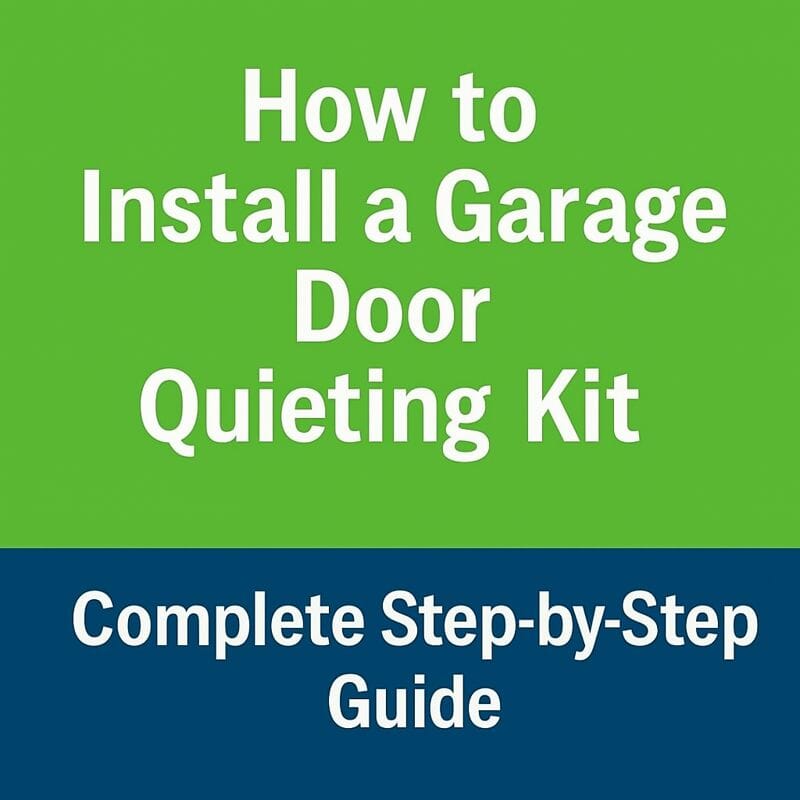

How to Install a Garage Door Quieting Kit: Complete Guide
We've found that replacing the majority of the hinges and installing the rest of the kit does a pretty good job of silencing the door without needing to deal with that bottom roller. If you really feel it needs to be changed, we have a separate process for that, but it's not necessary for most installations.

How to Order the Correct Torquemaster Spring | Height & Weight Method
Stop guessing your TorqueMaster spring. If the sticker is gone or unreadable, measuring your door height and weight is the only reliable way to get the right replacement the first time.
Read more
about DIY Garage Door Upgrade: Torquemaster Flag Angle Brackets